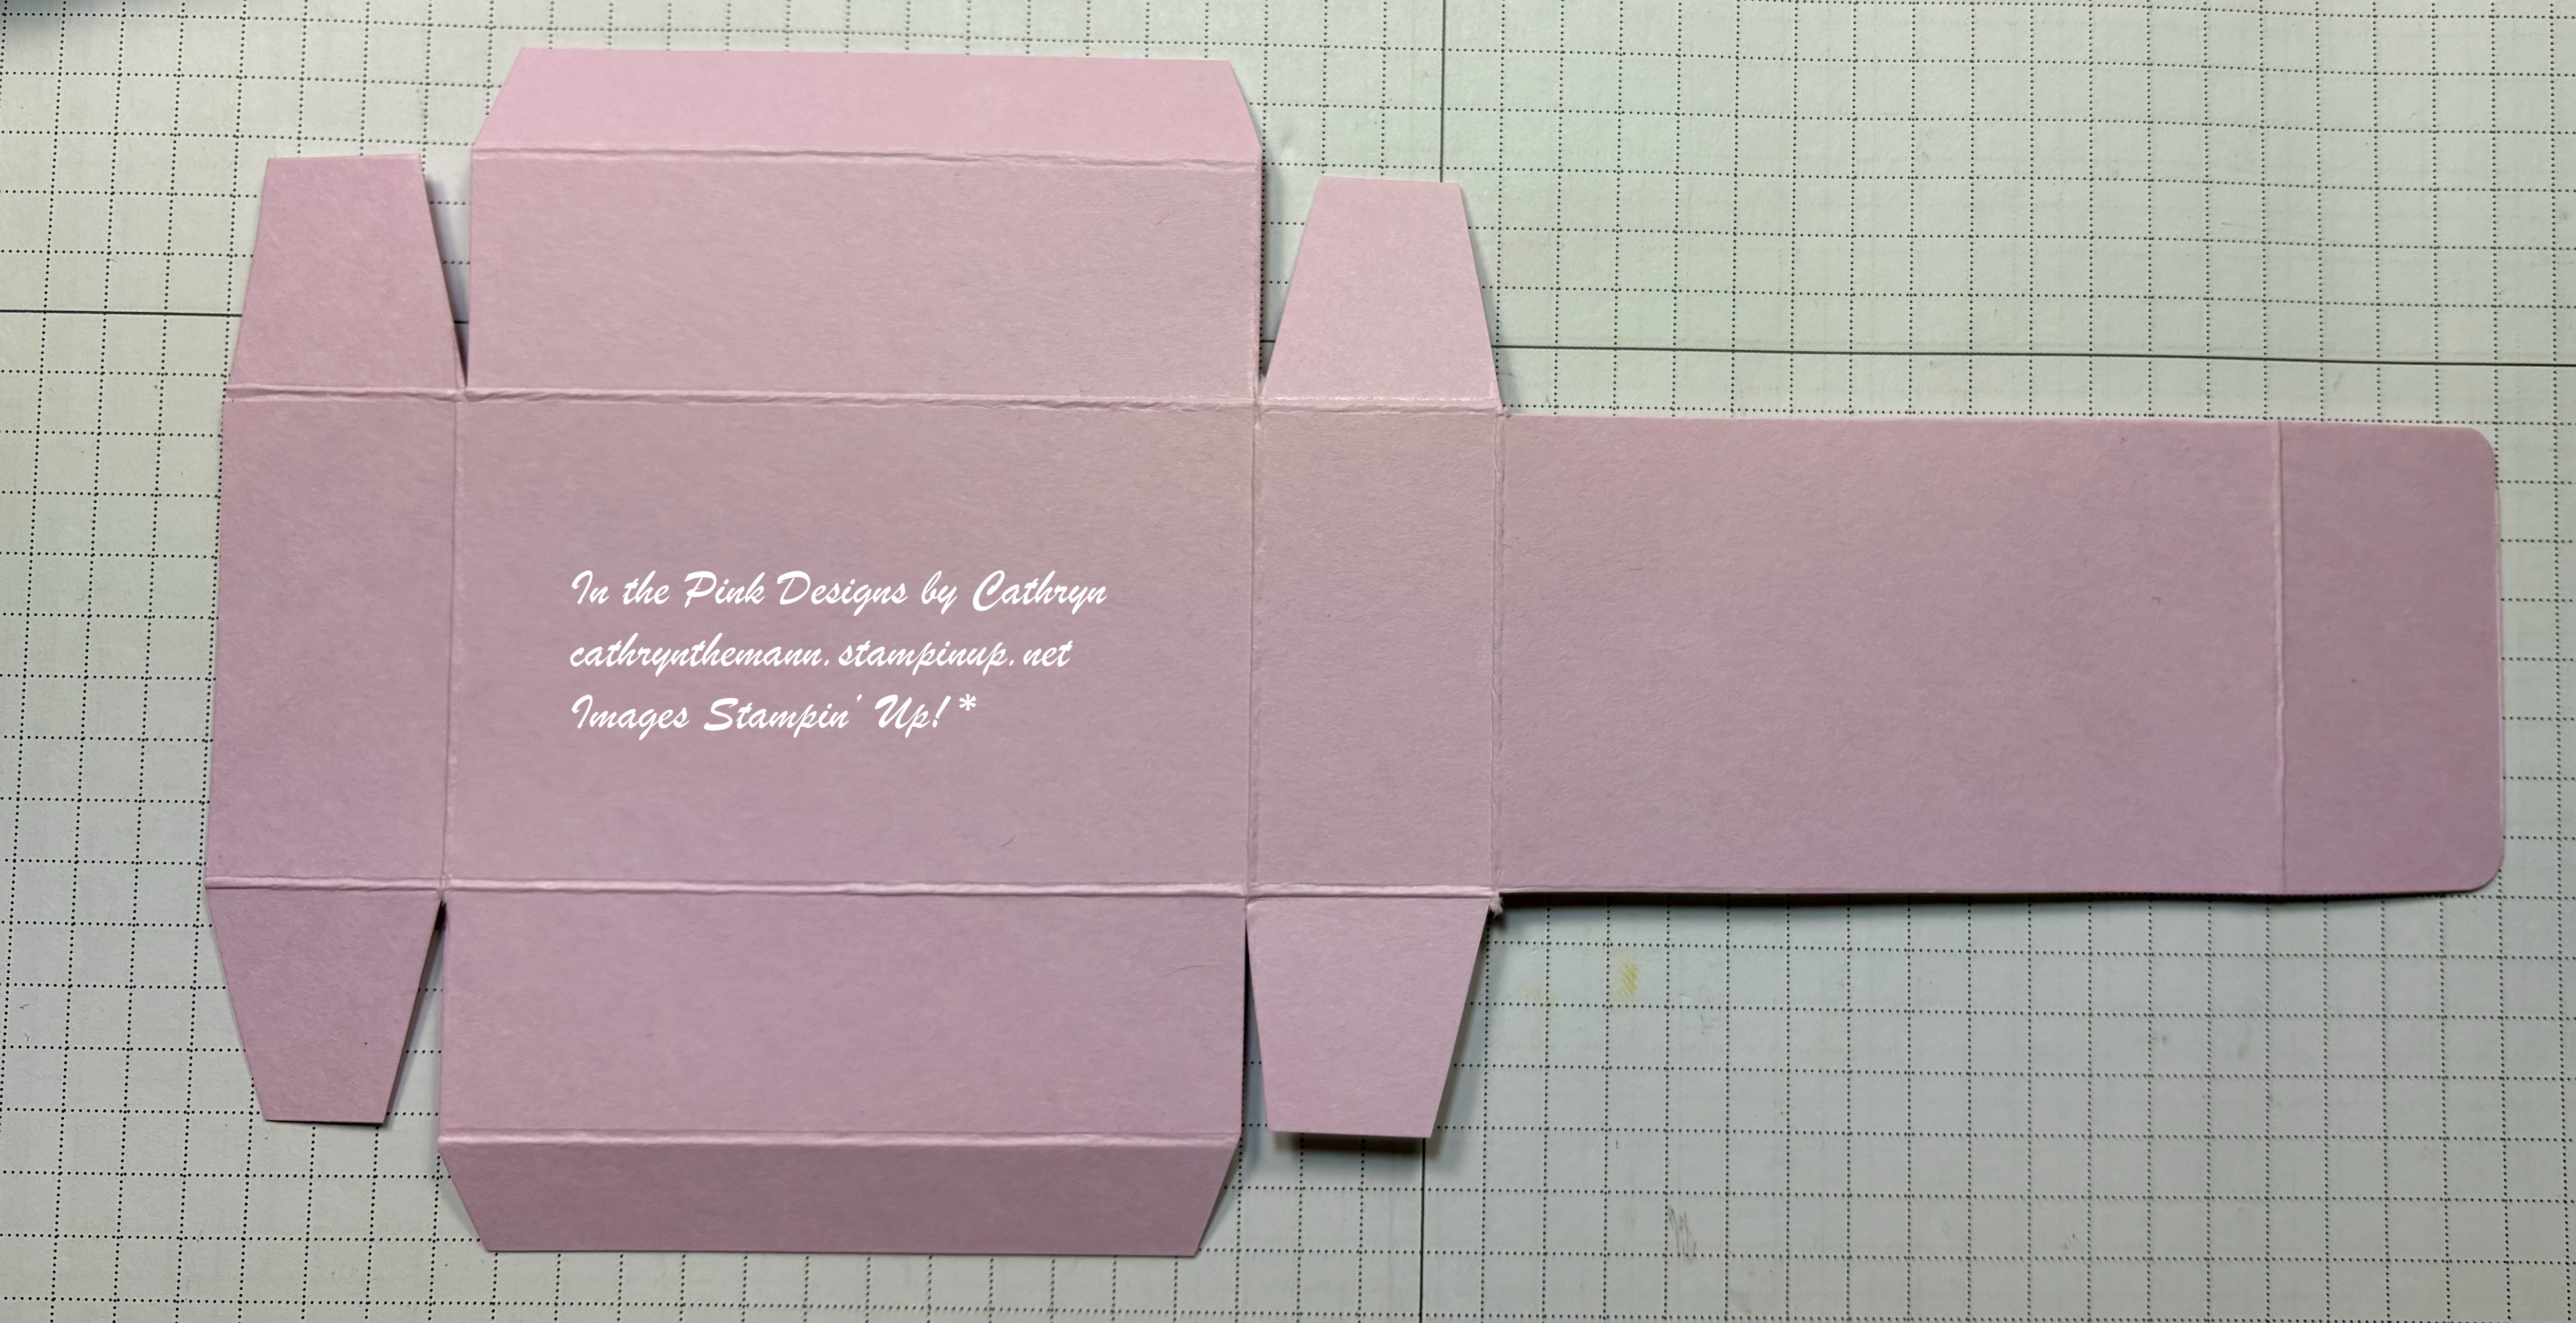
I started with a piece of Darling Duckling Cardstock sized
10 x 8 1/2"
I scored the 10" side at:
1/2, 3 1/2, 5 1/4 and 8 1/4"
I scored the 8 1/2" side at:
1 3/4, 5 3/4 and 7 1/2"
To cut and put the box together you can watch my Video Tutorial Here.
Below is a picture of how your Cardstock should look after scoring and cutting.

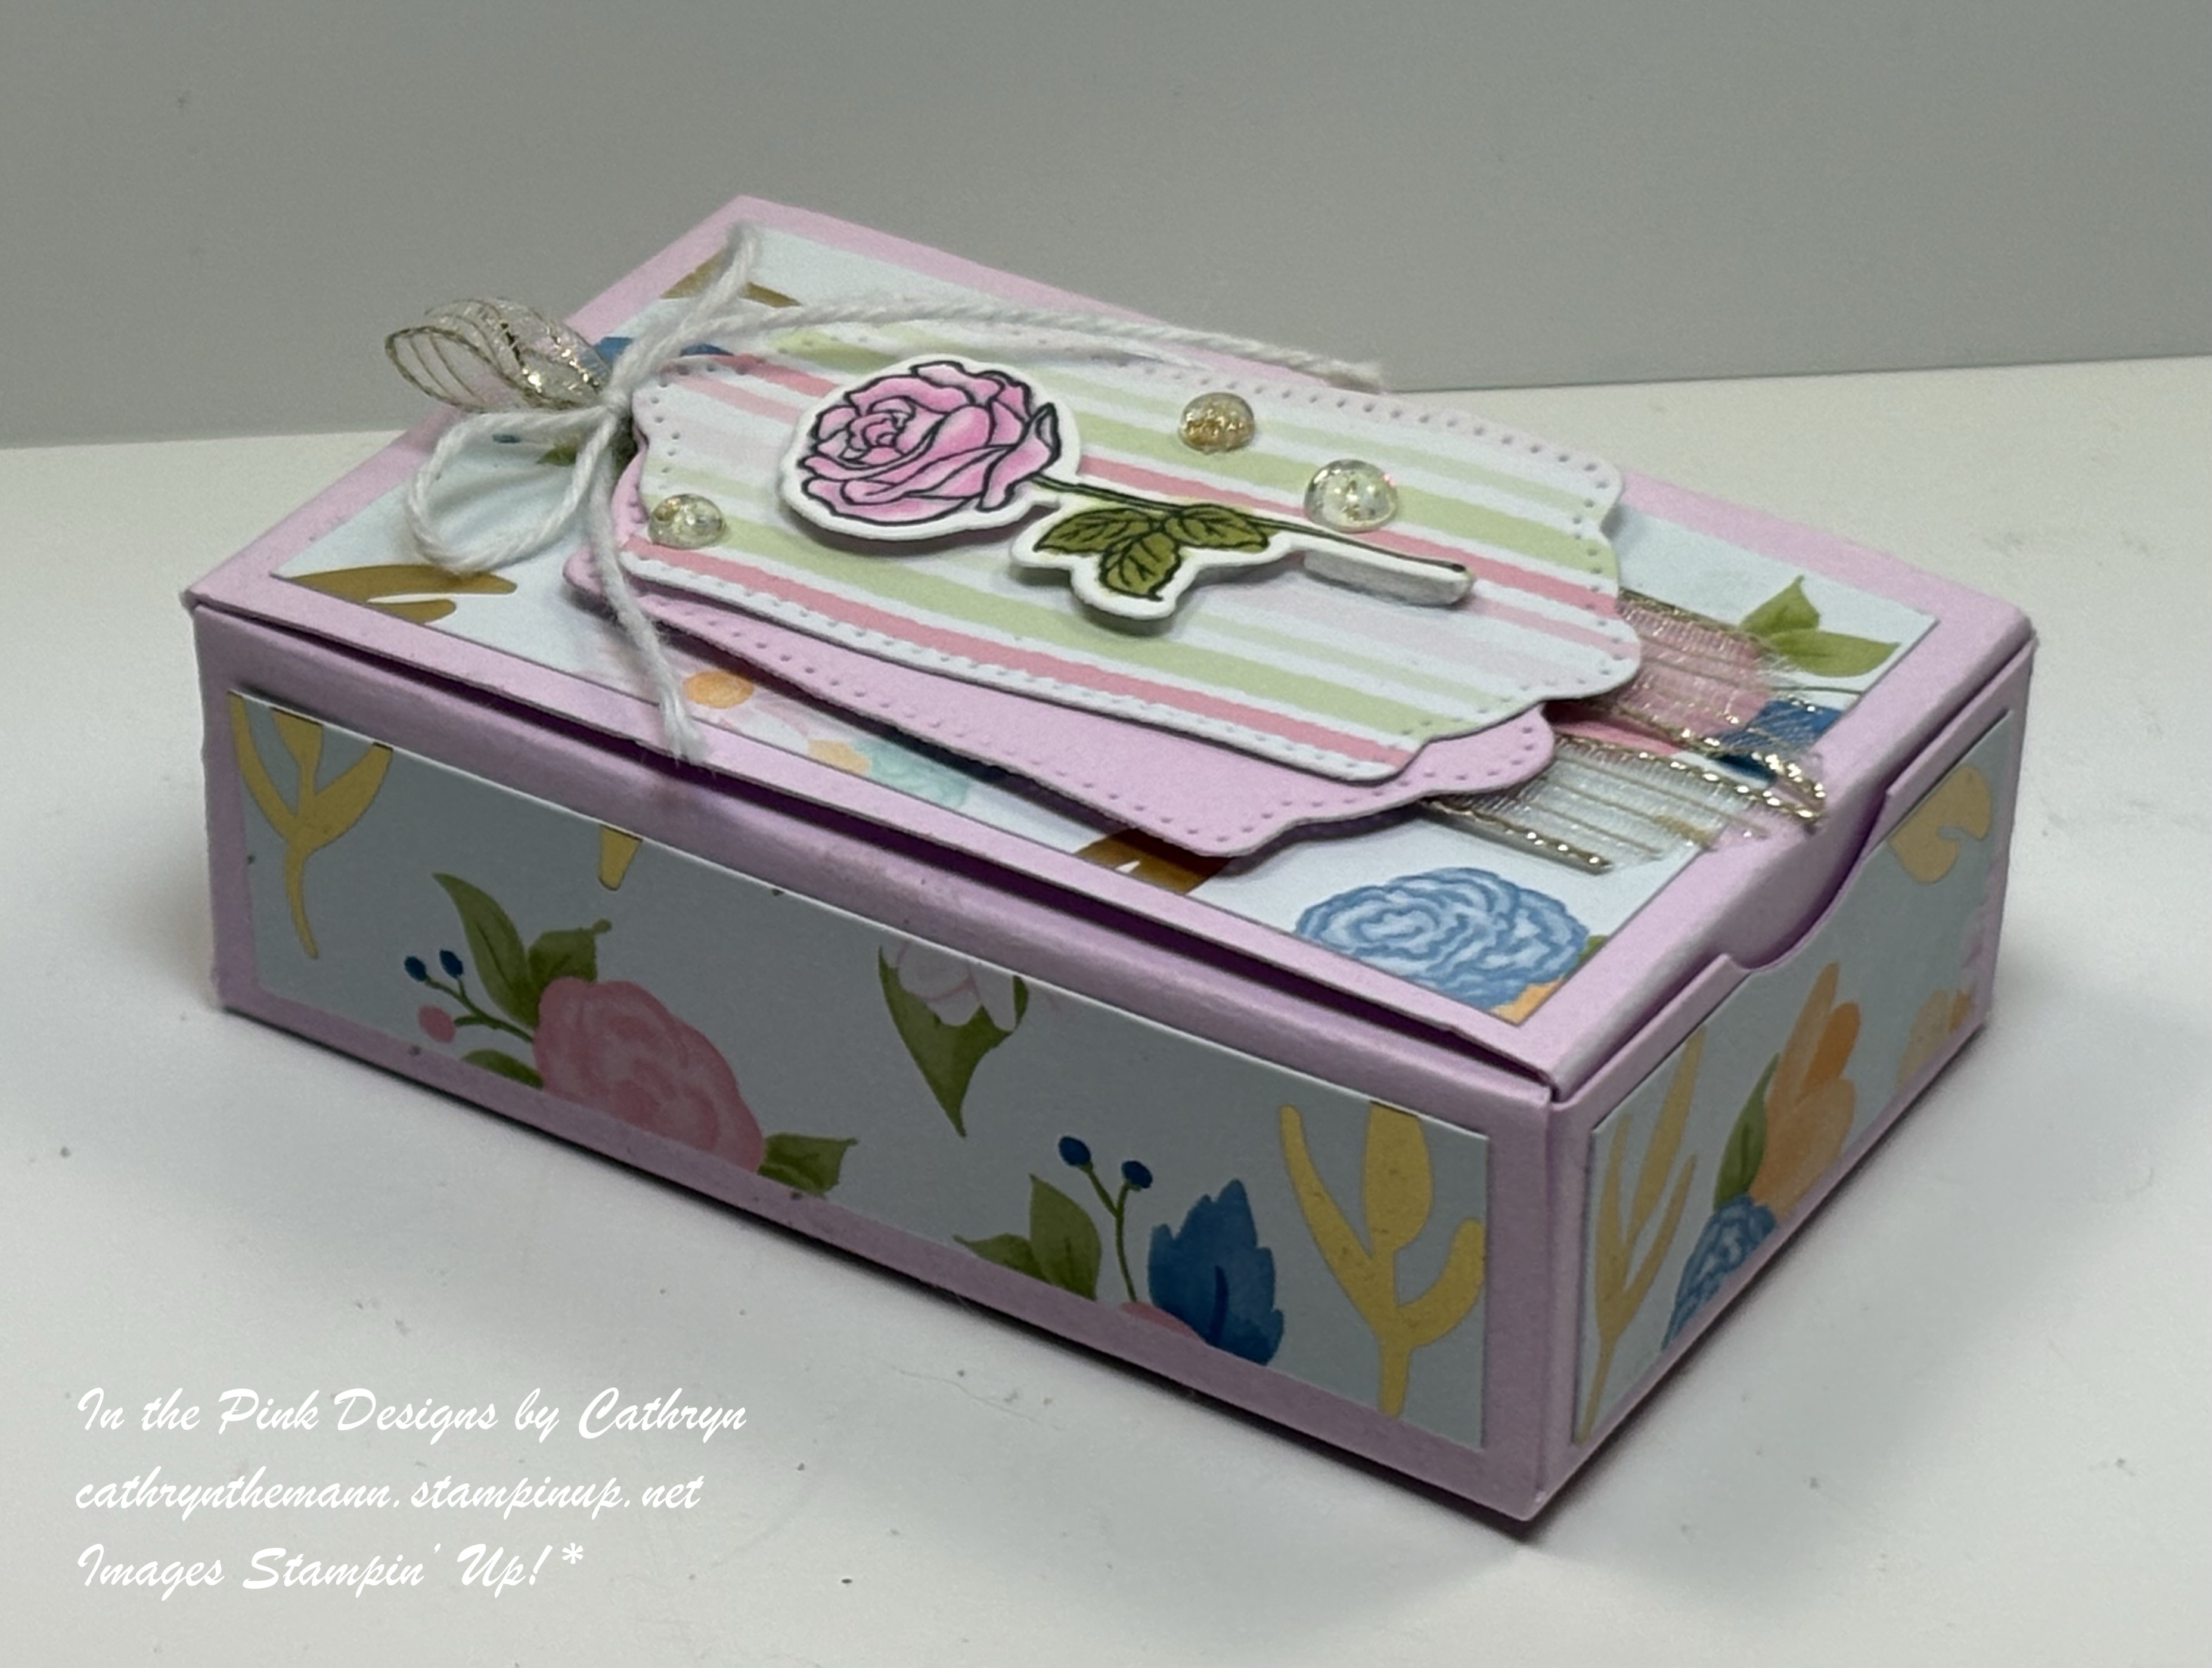
I attached 6 pieces of Floral Impressions Designer Series Paper to the box.
(2) 2 3/4 x 3 3/4" front and back
(2) 1 1/2 x 3 3/4" long sides
(2) 2 3/4 x 1 1/2" short sides

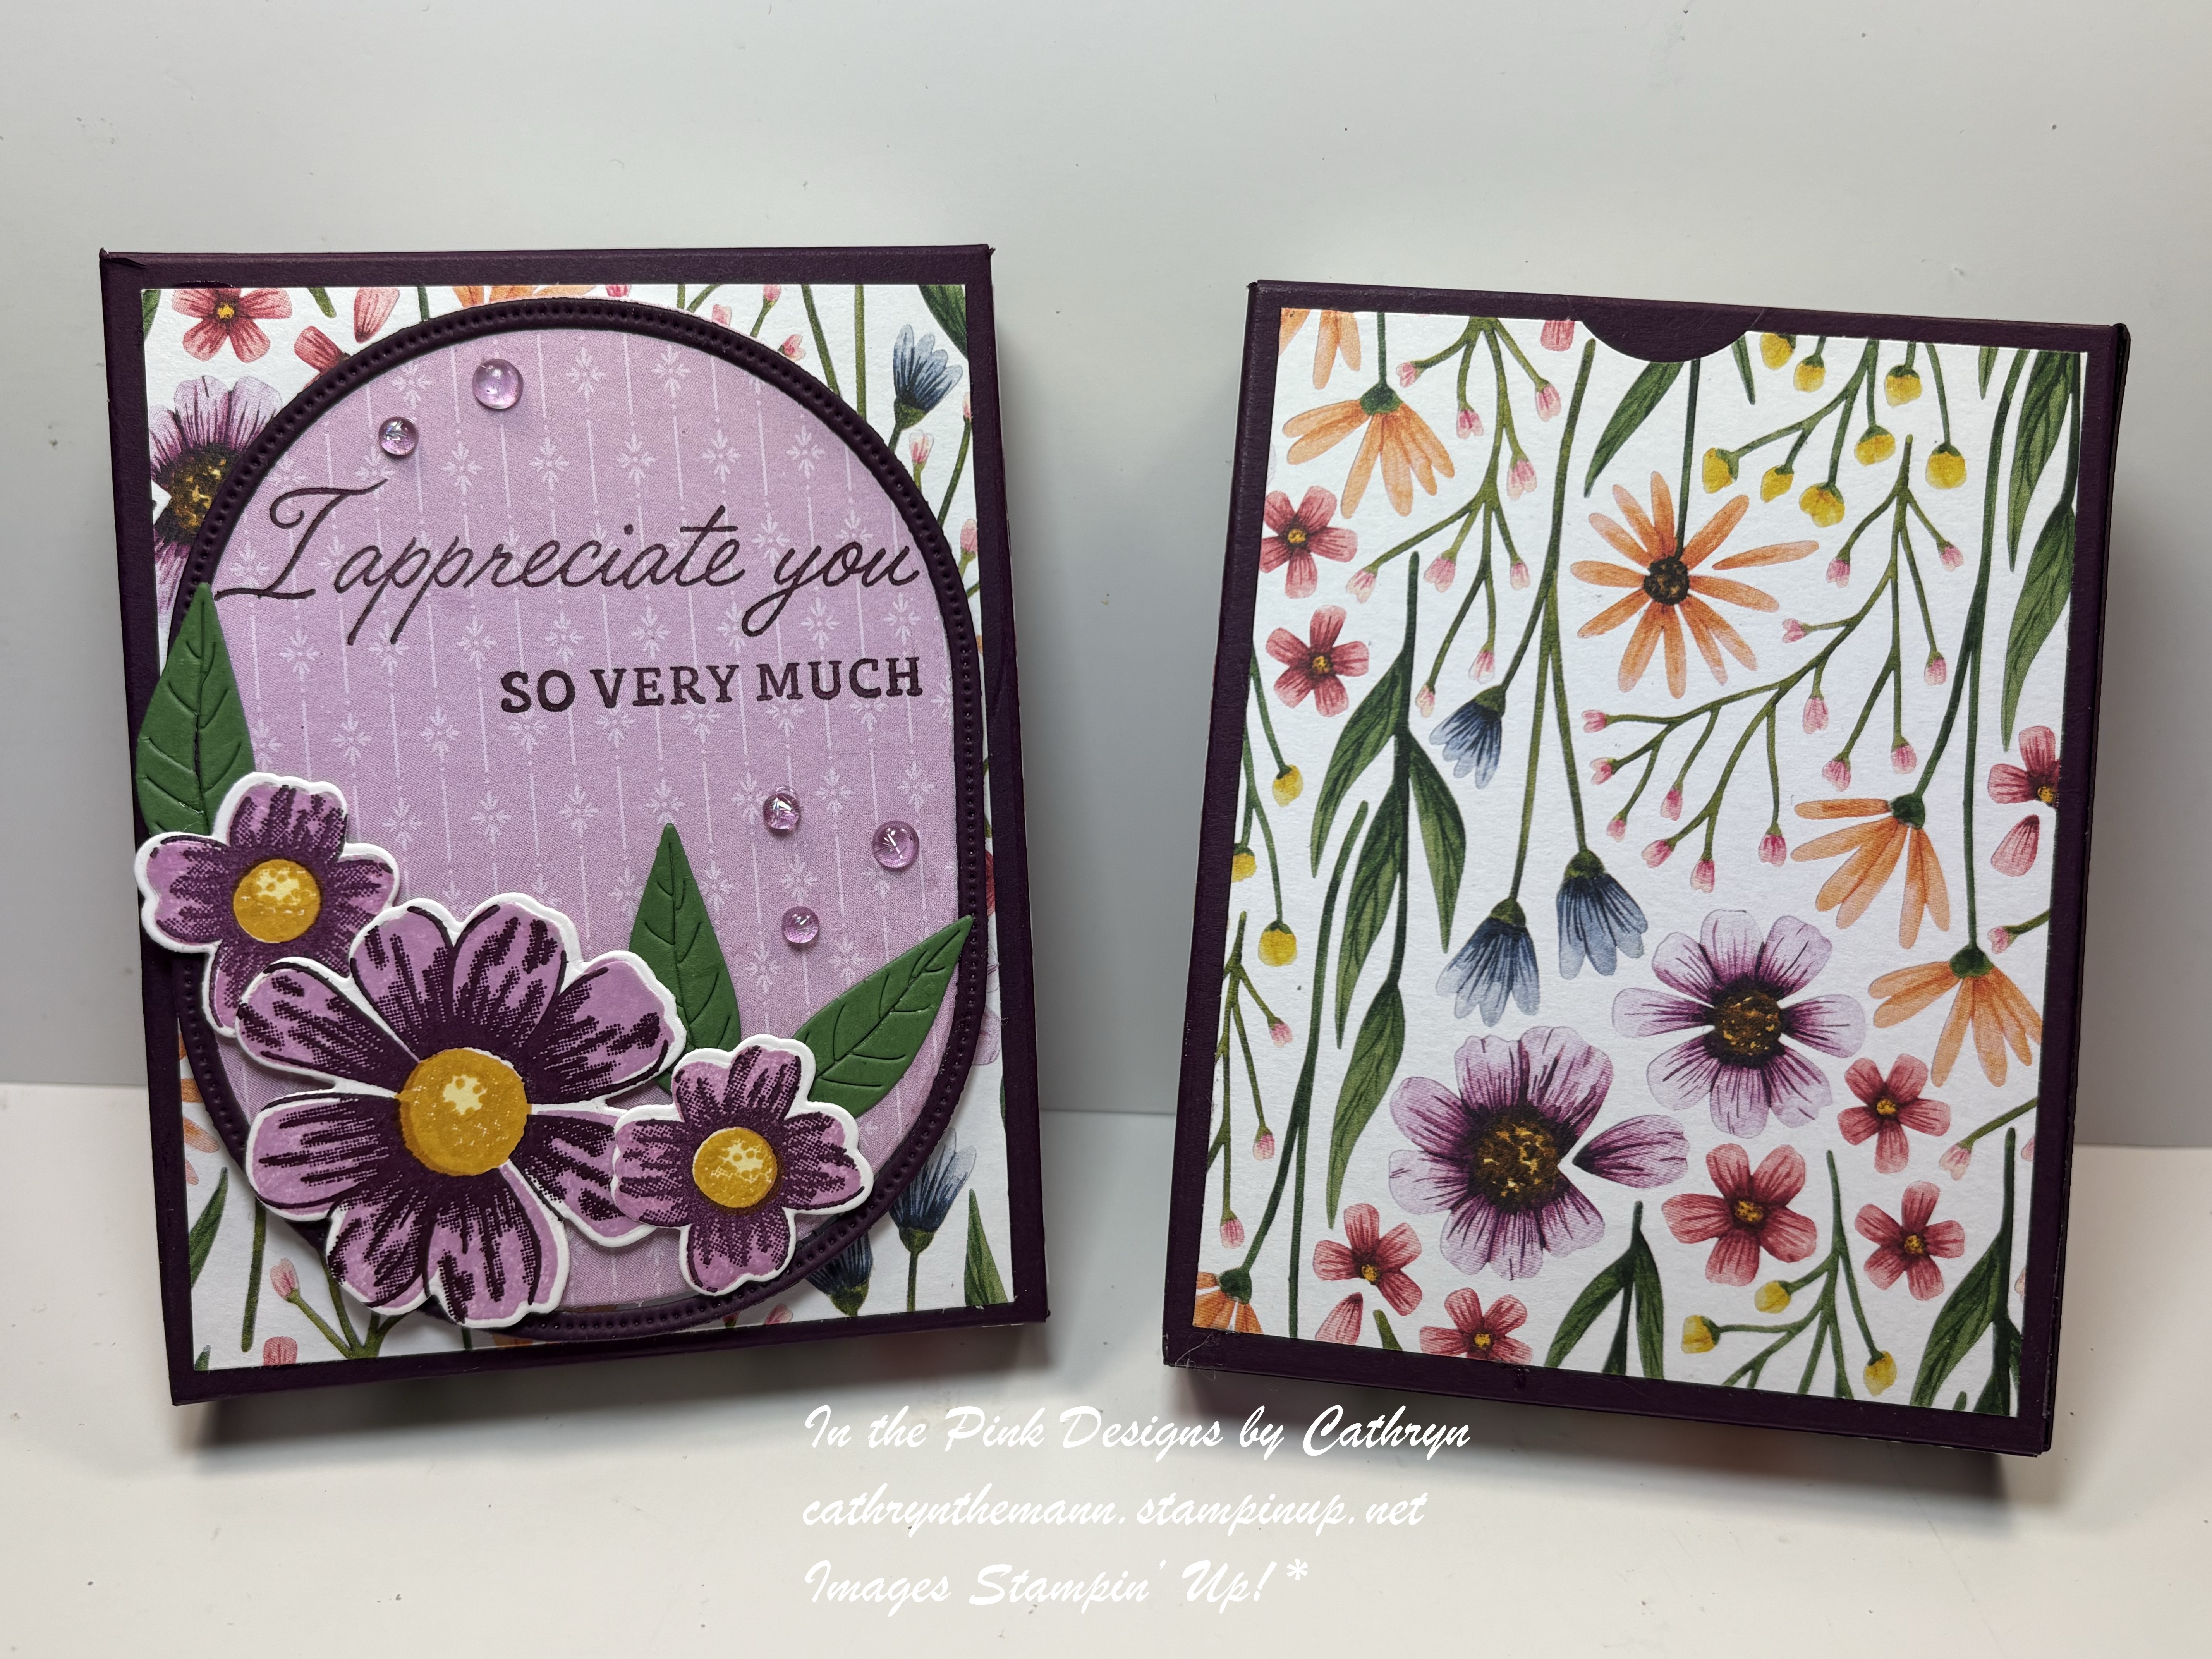
I cut out the Flowers, Leaves and Stem from Cardstock using the Impressions Abloom dies.
Large Flower and one middle - Strawberry Slush
Small Flower and one middle - Timid Tiger
2 Small Flowers - Darling Duckling
Leaves and Stem - Old Olive

I cut a 2 1/4 x 3 1/2" Arch from Floral Impressions DSP using the Everyday Arches dies.
I attached the Flowers and Stems to the Arch with Mini Dimensionals, Dimensionals and Liquid Glue.

I stamped the sentiment "Thanks" onto Basic White Cardstock with Old Olive Ink.
I cut the sentiment out by hand and attached it to the bottom/left of the Arch with Dimensionals.

I tied a bow with Peach Pie Bordered Ribbon.
I attached the bow above the sentiment with Glue Dots and Liquid Glue.

I added some Wink of Stella Glitter to the Small Flowers for the final touch.

Supplies:
Impressions Abloom stamp set & dies Bundle
Everyday Arches dies
Floral Impressions Designer Series Paper
Darling Duckling Cardstock
Timid Tiger Cardstock
Strawberry Slush Cardstock
Old Olive Cardstock
Basic White Cardstock
Old Olive Ink
Peach Pie Bordered Ribbon
Wink of Stella Glitter
Tear & Tape
Liquid Glue
Dimensionals
Mini Dimensionals
Glue Dots
Tools:
Simply Scored
Take Your Pick Tool
Corner Rounder
Small Circle Punch
Thank you for visiting my Blog today. I hope you enjoyed my Treat Box.
See you next time!
Love & Hugs,
Cathryn