I started with a piece of Boho Blue Cardstock sized
10 1/4 x 8 1/2"
I scored the 10 1/4" side at:
1, 4 3/4, 5 3/4 and 9 1/2".
I scored the 8 1/2" side at:
3/4, 1 3/4, 6 3/4 and 7 3/4".
To cut and put the box together you can watch my Video Tutorial Here.
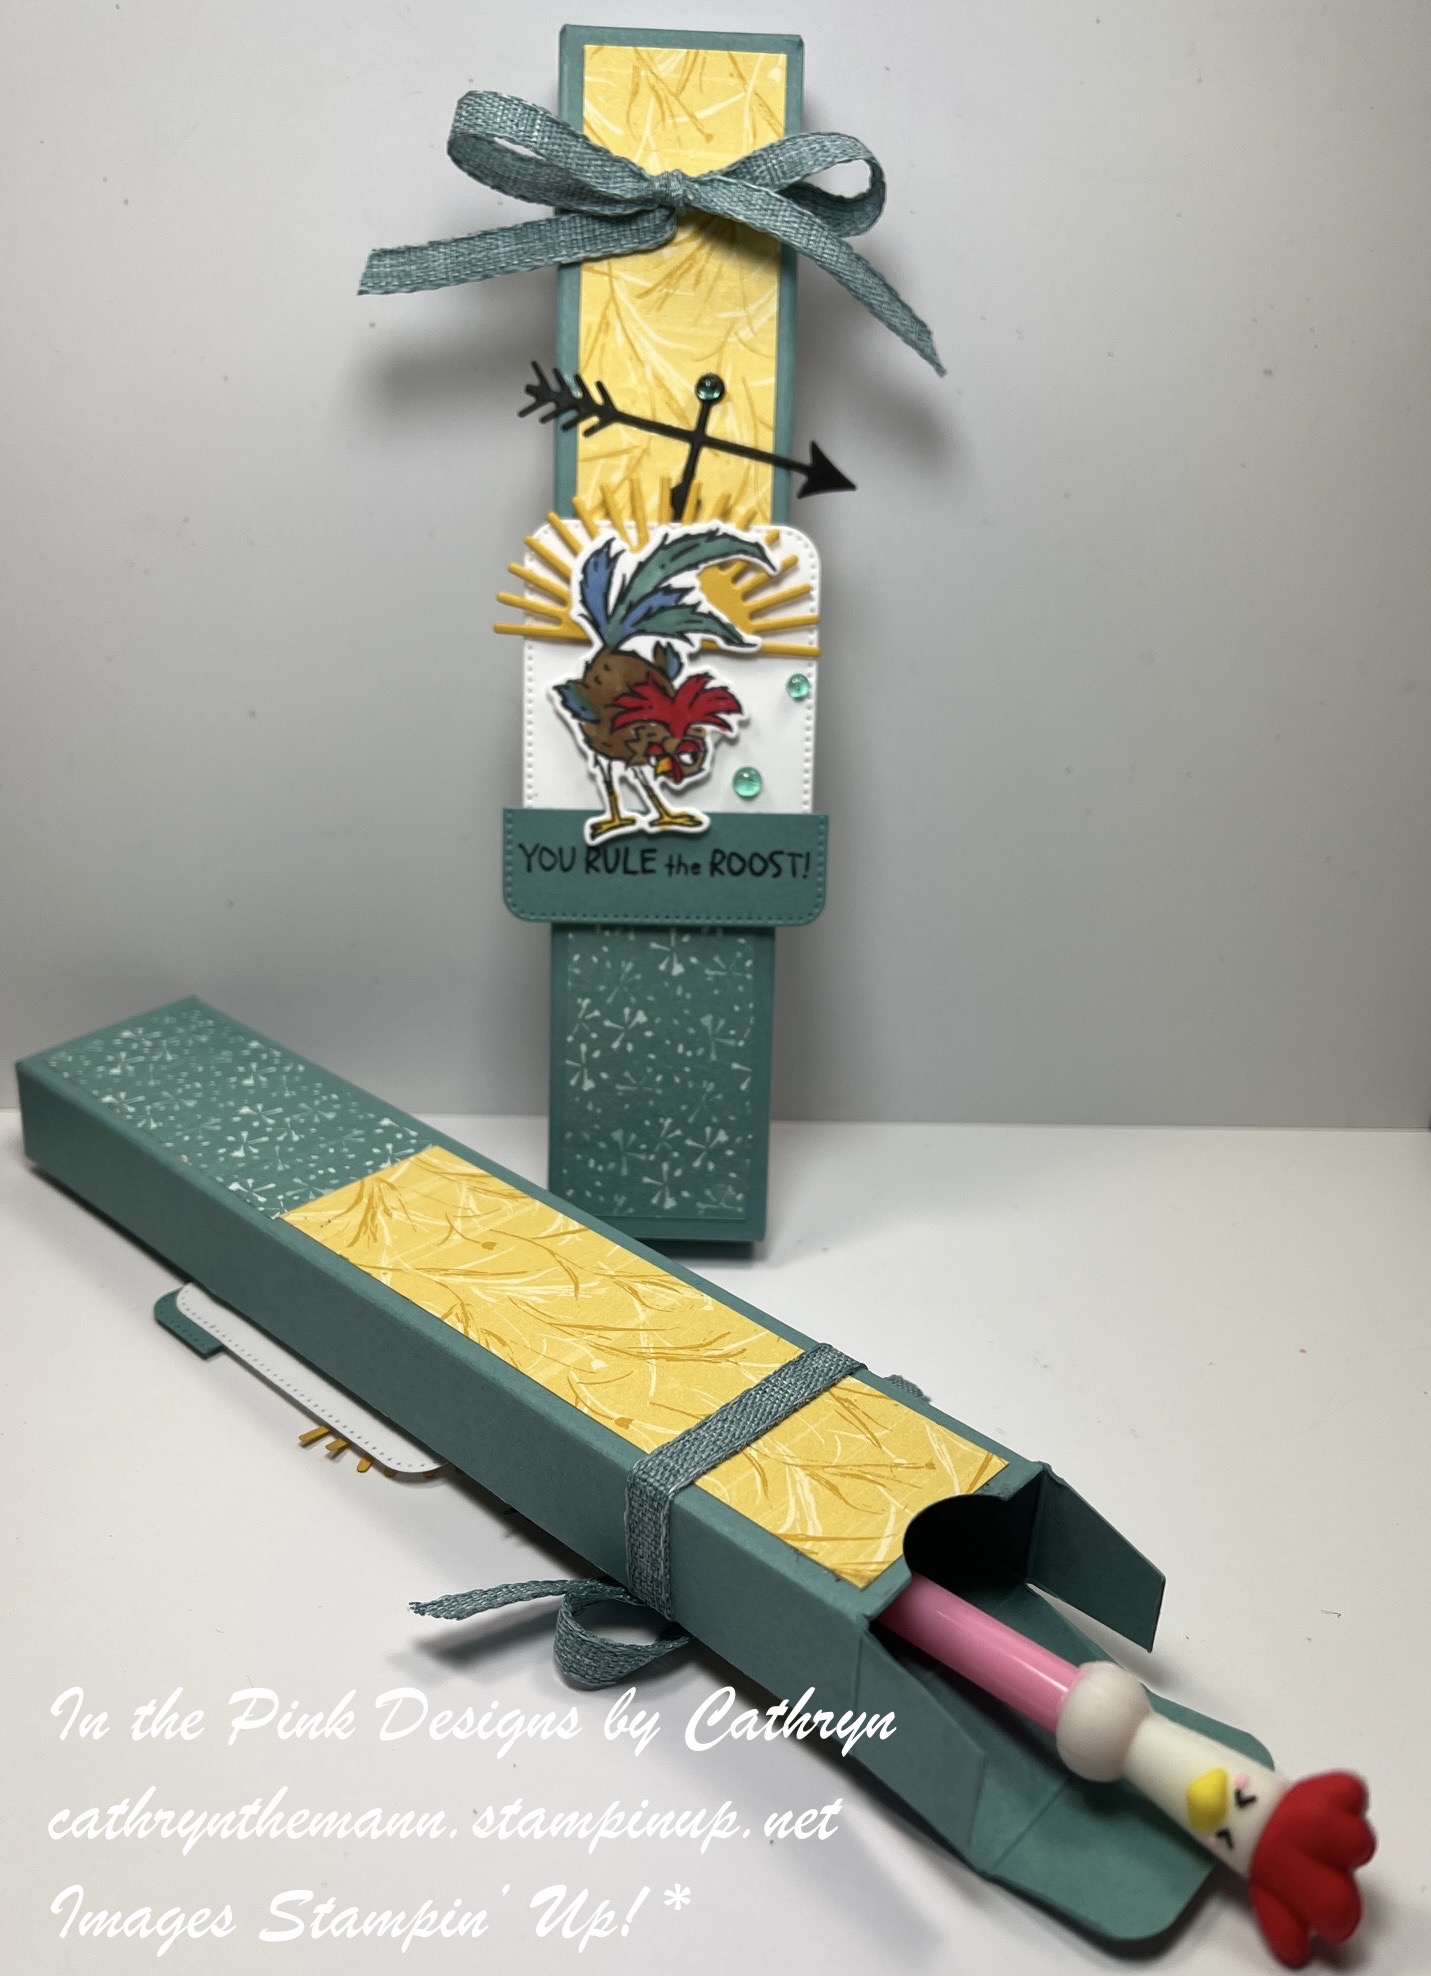
Below is a picture of how your Cardstock should look after scoring, cutting and rounding the corners.
You can punch 2 holes in the top inside rectangle to run Ribbon through later.

I attached 1 piece of Bright & Beautiful Designer Series Paper to the box.
(1) 3 1/2 x 4 3/4"
I attached the DSP to the top of the box with Liquid Glue.

I cut a Lantern from Basic Black Cardstock using the Lighting the Way dies.
I used a Blender Brush to add Daffodil Delight Ink to some Basic White Cardstock.
I put the middle of the Lantern die over the inked Cardstock and cut another inside of the Lantern.
I attached the Lantern to the bottom right of the DSP using my Silicone Mat, a sponge and some Liquid Glue.
I attached the Daffodil Delight inked pieces into the Lantern with Liquid Glue.

I stamped the sentiment, from Lighting the Way stamp set onto Basic White Cardstock with Blueberry Bushel Ink.
I cut the sentiment out and into 2 pieces by hand.
I attached the pieces to the top right of the DSP with Liquid Glue.
I poked 2 holes in the top/side of the box with a scissor.
I ran Boho Blue Textured Ribbon through the holes and tried a box at the top.

I cut Stars from Lemon Lolly Cardstock using the die from Little Dreamers dies.
I attached the Stars around the box using a Silicone Mat, Take Your Pick Tool and Liquid Glue.
I stamped the Flowers, from Petal Park stamp set, onto Basic White Cardstock with Boho Blue Ink.
I cut the Flowers out using the Petal Park Builder Punch.

I placed the Flowers on my Stampin' Pierce Mat and pushed the middle of each one down with the cap of my Take Your Pick Tool.
I attached the Flowers around the Lantern with Liquid Glue.
For the final touch I added 3 Boho Blue Solid Gems to the middle of the Flowers.

Supplies:
Lighting the Way stamp set
Lighting the Way dies
Petal Park stamp set
Petal Park Builder Punch
Little Dreamers dies
Bright & Beautiful Designer Series Paper
Boho Blue Cardstock
Lemon Lolly Cardstock
Basic Black Cardstock
Basic White Cardstock
Daffodil Delight Ink
Boho Blue Ink
Blueberry Bushel Ink
Boho Blue Textured Ribbon
Solid Gems
Blender Brush
Take Pick Tool
Simply Scored
Corner Rounder
Hole Punch
Small Circle Punch
Thank you for visiting my Blog today. I hope you enjoyed my Lantern Box.
See you next time!
Love and Hugs,
Cathryn