Friday, January 29, 2021

MINI WINE BOTTLE BOX with LOVE YOU ALWAYS Specialty DSP


Shop Stampin' Up! Here

Hi Friends!
For my project today I made a box for a Mini Wine Bottle I got at my local Liquor Store. The ones I got are 187ml / 6.3 ounces.  I used Love You Always Specialty Designer Series Paper, Love You Always Foil Sheets, Oh So Ombre DSP (Free with a $50 Stampin' Up! Purchase), Many Hearts dies, Hydrangea Haven stamp set and Hydrangea dies.  This is the perfect Valentine's Day gift for all the adults on your list!


I started with a piece of Rococo Rose Love You Always Specialty Designer Series Paper sized  7 1/4  x  6 1/4".
I scored the 7 1/4" side at:
1 1/8,  2 1/4,  3 3/8,  4 1/2,  5 5/8  and  6 3/4".
I scored the 6 1/4" side at:
1 1/4  and  5".
To cut and put the box together you can watch my Video Tutorial Here.


I punched holes all around the top squares (my video explains) with a 1/8" hole punch and ran some Metallic Edged Ribbon through them.
I put my wine bottle into the box, tightened the ribbon to fit snuggly around the bottle neck and tied a bow in the front of the box.


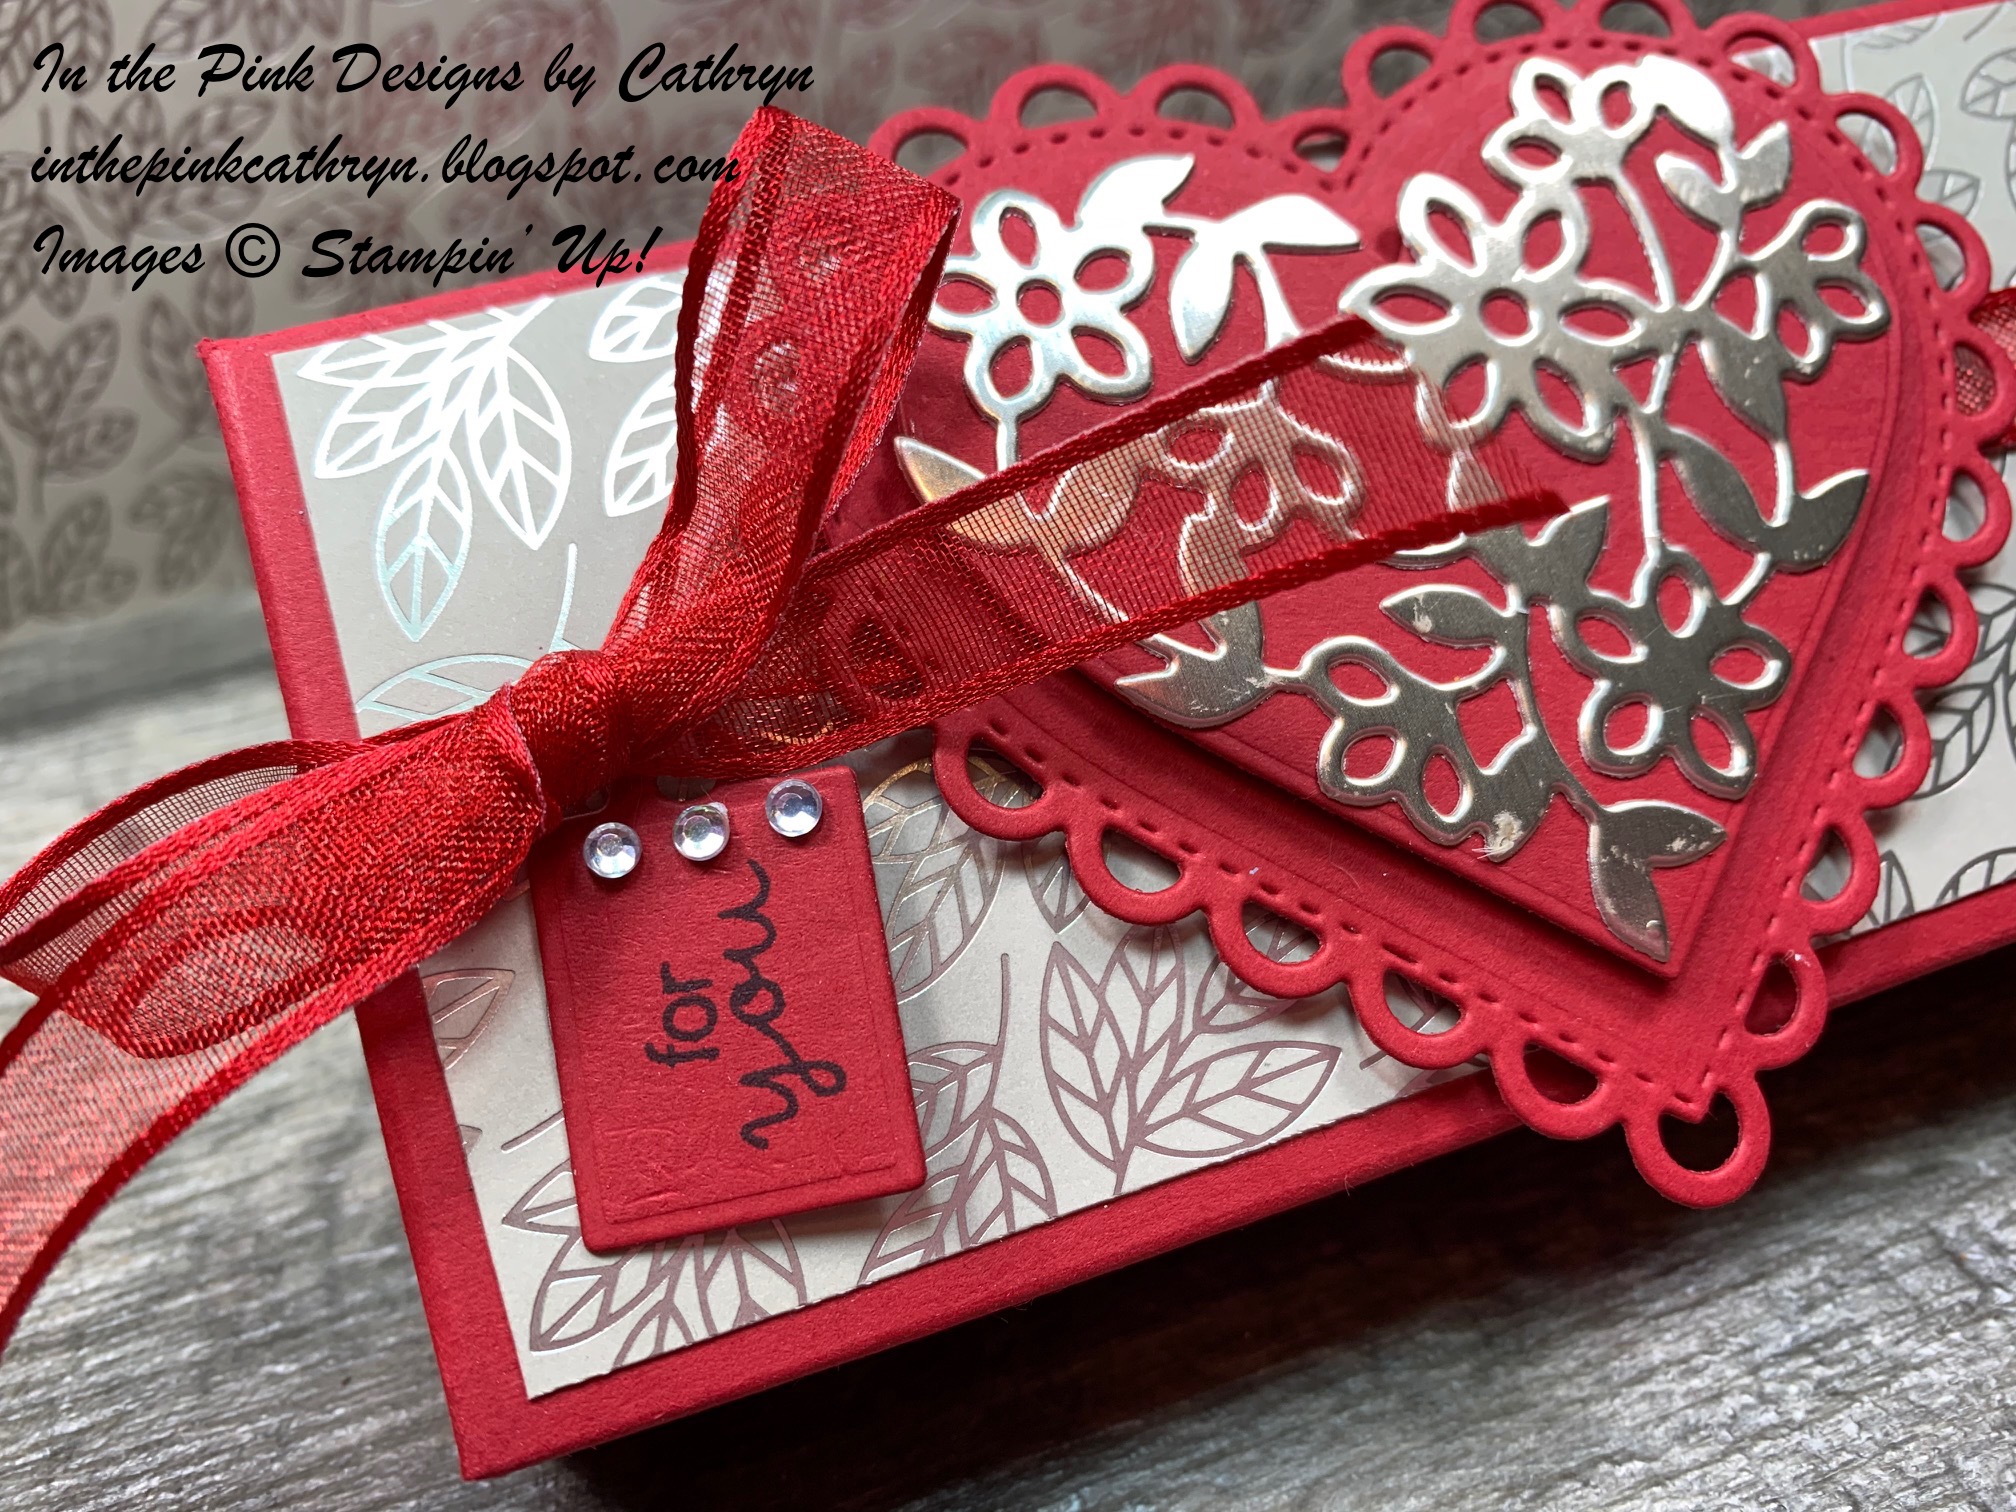
I cut two hearts using the small heart die from Many Hearts dies.  1 heart out of Oh So Ombre DSP and 1 from Love You Always Foil Sheets.
I attached the foil heart on top of the Ombre heart, with the Ombre heart showing on the top a little, with Dimensionals.
I attached it to the front of the box with Liquid Glue.


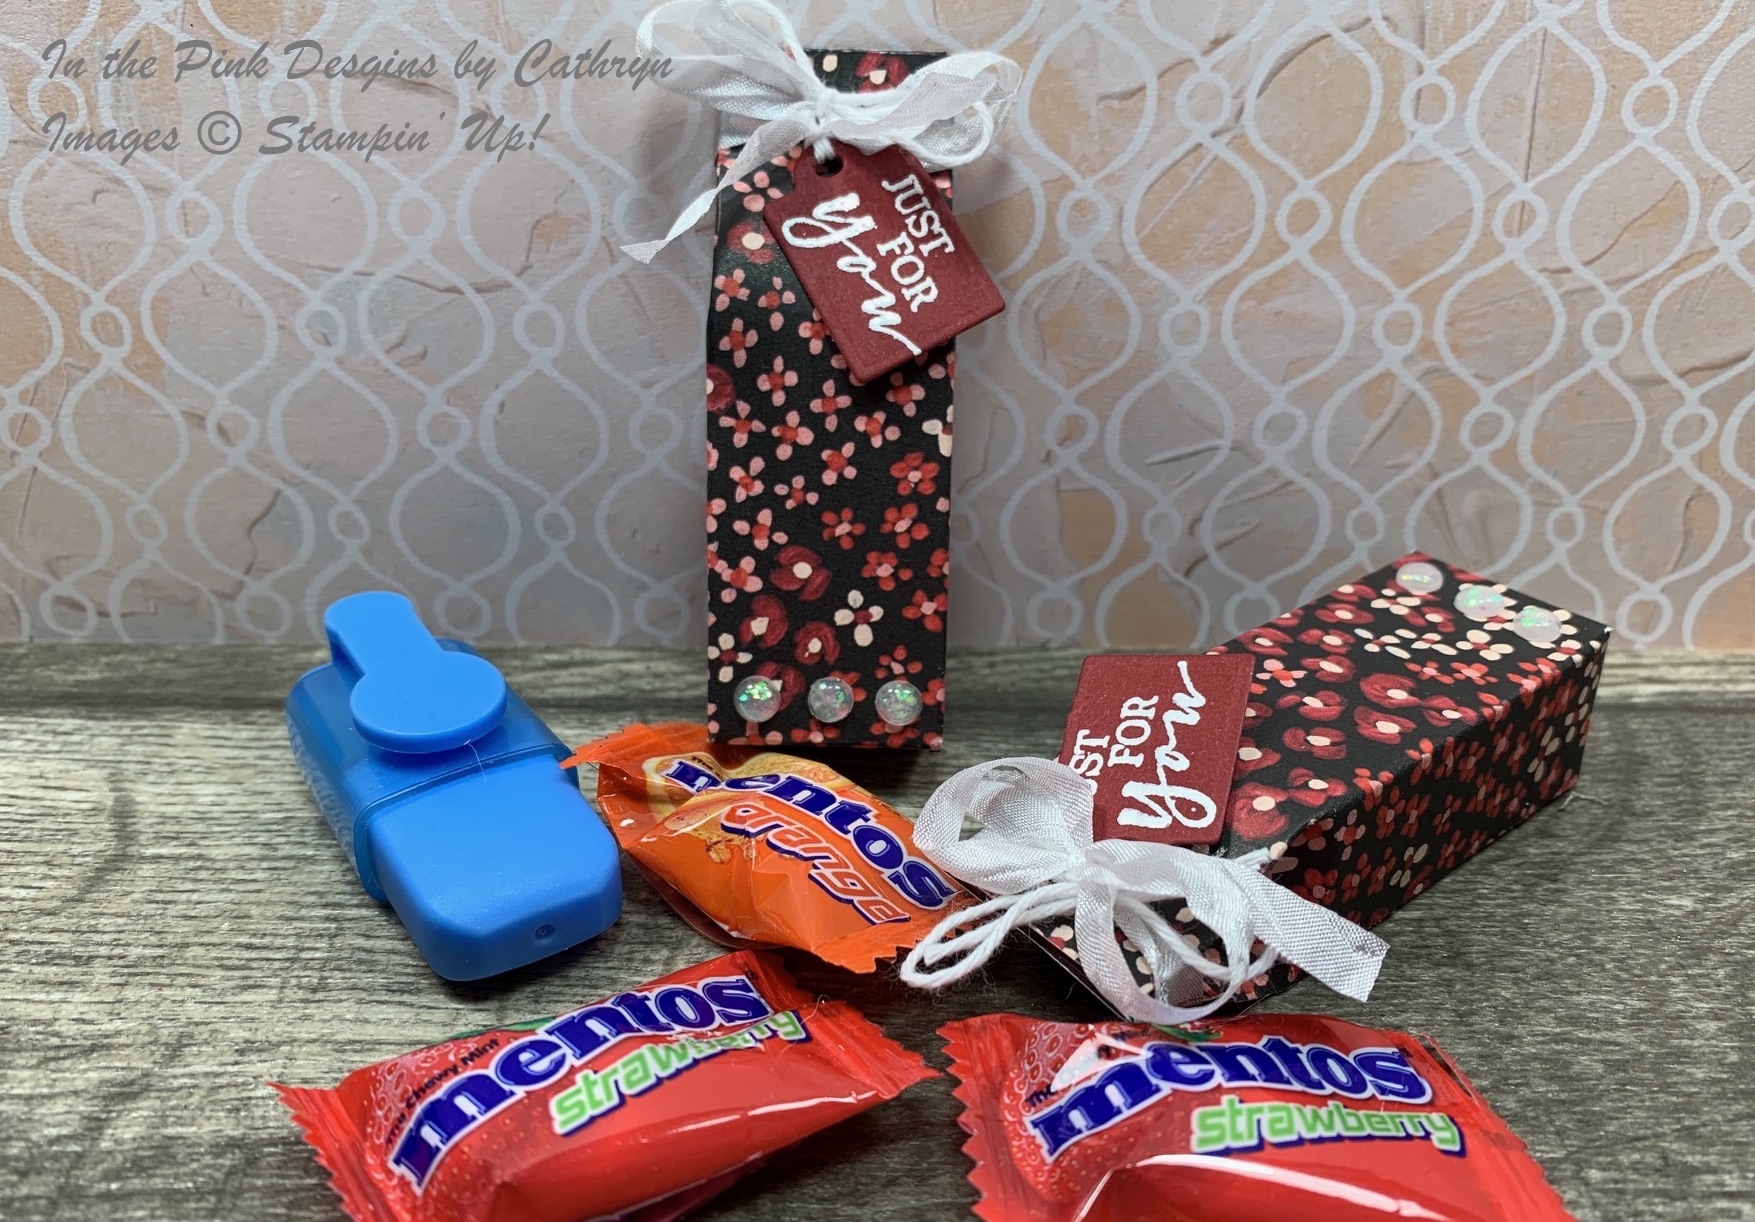
I cut some of the Oh So Ombre DSP using the small tag from Hydrangea dies.  I stamped the sentiment from Hydrangea Haven stamp set on the tag with Tuxedo Black Ink.
I looped some White Twine, from Snail Mail Twine Combo Pack, onto the tag and tied it around the bow.
For the final touch I added 3 Opal Rounds to the heart.


Supplies:
Mini Wine Bottle from Local Liquor Store

I hope you enjoyed my post today.
See you next time!

Wednesday, January 27, 2021

Quick Valentine Box with Oh So Ombre


Shop Stampin' Up! Here

Hi Friends!
My project today is a Quick Valentine Box that you can make with 1 piece of  6x6  Designer Series Paper.  I used Oh So Ombre 6x6 Designer Series Paper (Free with a Stampin' Up! purchase of $50), Many Hearts dies and Love You Always Foil Sheets.  My box holds a heart shaped "slinky" toy, some nerds candy and Hershey's Kisses.  They would be perfect for school or office Valentine gifts.


I started with a piece of  6 x 6  Oh So Ombre Designer Series Paper.
I scored 1 side at:
1/2  and  3 1/4".
Turn paper 1/4 turn and score:
1 1/2  and  5 1/4".
Turn paper another 1/4 turn and score to the 1st scoreline ONLY at:
1 3/8  and  4 1/8".
To cut and put the box together you can watch my Video Tutorial Here.


I folded over the top flap and punched 2 holes in it.  I threaded some White Metallic Edged Ribbon through the holes and tied a bow in the front.
I cut 2 small hearts from the Many Hearts dies.  1 from Basic White Cardstock and 1 from Rococo Rose Foil Paper.
I ran the Rococo Rose heart through again using the perforated heart die.


I attached the foil heart to the Basic White heart with Dimensionals and Mini Dimensionals.
I attached both hearts to the front of the box with Liquid Glue.
For the final touch I added some Opal Rounds to the bottom of the box.


Supplies:
Slinky Hearts - Dollar Tree

I hope you enjoyed my project today.
See you next time!

Monday, January 25, 2021

Flower and Fields Mini Gift Box Valentine Tutorial


Shop Stampin' Up! here

Hi Friends,
Today I made a mini gift box using Flower and Field Designer Series paper, Sweet Strawberry stamp set and Hydrangea dies.  The Flower and Fields DSP is Free with a $50 Stampin' Up! purchase.  This little box fits a mini highlighter (Target Dollar Spot),  3 mentos candies (Dollar Tree) or any other small treat.
The box measures  3  x  1  x  3/4".


I started with a piece of Flower and Fields DSP sized  4  x  3 3/4".
I scored the  4" side at:
3/4,  1 3/4,  2 1/2  and  3 1/2".
I scored the  3 3/4" side at:
3/4  and  3 1/4".

To cut and put the box together you can watch my Video Tutorial here.


I tied Crinkled Seam Binding Ribbon around the top of the box and tied a bow in the front.
I cut a piece of Cherry Cobbler Cardstock to cut the tag using the Hydrangea dies.
I stamped the sentiment with Versamark Ink and sprinkled it with White Stampin' Emboss Powder.
I heated the tag with my Heat Tool until the powder turned shiny.


I looped some White Bakers Twine, from the Snail Mail Twine Combo Pack, through the hole in the top of the tag.  I tied the tag around the Crinkle Ribbon and tied a bow at the top.
For the final touch I added three Opal Rounds to the bottom front of the box.


Supplies:

Thank you for visiting my Blog today.
See you next time!

Friday, January 22, 2021

Darling Donkeys Valentine Treat Box


Shop Stampin' Up! Here

Hi Friends!
My project today is a  3 1/4  x  2 3/4  x  3/4"  Valentine Treat Box.   I used Darling Donkeys stamp set,  Many Hearts dies and Brights 6x6 Designer Series Paper.  You can get 2 of these boxes from 1 sheet of   8 1/2 x 11" piece of Cardstock.  This is great for gifts for the classroom, office, etc!


I started with a piece of Poppy Parade (or Cherry Cobbler) Cardstock sized  10  x  4 1/4".
I scored the 10" side at:
3 1/4,  4,  7 1/4  and  8".
I scored the  4 1/4"  side at:
3/4  and  3 1/2".

To cut and put the box together you can watch my Video Tutorial Here.


I added some of the Brights (or Regals) Designer Series Paper in sizes:
(2)  3 1/8  x  2 5/8"
(1)  1 7/8  x  2 5/8"
(1)  5/8  x  2 5/8"

I used Stampin' Seal to attache the piece to the box on the front, back, top of lid and front flap.


I cut the solid heart from Poppy Parade Cardstock and the slim heart from Basic White Cardstock using the Many Hearts dies.
I embossed the "kick" marks to the Poppy Parade heart using Versamark Ink, White Stampin' Emboss Powder and my Heat Tool.
I attached the Poppy Parade Heart to the front flap with Liquid Glue.
I attached the Basic White Heart on top of the Red by placing a few dots of Liquid Glue where needed.
I added a thin Velcro Dots to the inside of the lid and front of the box for the closure.


I stamped the Donkey and sentiment form Darling Donkeys stamp set onto Basic White Cardstock with Tuxedo Black Ink.  I colored it with Stampin' Blends:
Dark Petal Pink
Light Crumb Cake
Dark and Light Smokey Slate.


I attached the Donkey on top of the Hearts with Stampin' Dimensionals and Mini Dimensionals.
I hand cut the sentiment and attached it to the box with Liquid Glue.
For the final touch I tied Polka Dot Tulle Ribbon under the lid and tied a bow at the top.


Supplies:
Darling Donkeys stamp set (free with $50 purchase)
Dark Petal Pink
Light Crumb Cake
Light and Dark Smokey Slate

I hope you enjoyed my project today.  If you have any questions please  let me know in the comments.
See you next time!

Wednesday, January 20, 2021

LITTLE DEBBIE BE MY VALENTINE SNACK CAKE BOX with MANY HEARTS DIES


Shop Stampin' Up! Here

Hi Friends,
Today I made a box to fit a pack of Little Debbie Valentine Snack Cakes.  I used Many Hearts dies, Hydrangea Haven stamp set and Hydrangea dies.  The box measures  5 1/4  x  2 1/2  x  1".


I started with a piece of Real Red Cardstock sized  8  x  7 1/4".
I scored the 8" side at:
1,  3 1/2,  4 1/2  and  7".
I scored the 7 1/4" side at:
1  and  6 1/4".

To cut and put the box together you can watch my Video Tutorial Here.


I attached a  5  x  2 1/4"  piece of Love You Always Specialty Designer Series Paper to the top of the box with Stampin' Seal.
I put the snack cakes in the box, closed it and tied some Real Red Sheer Ribbon around the long side of the box and tied a bow on the left side.
Using the Many Hearts dies I cut a Scalloped heart and smooth heart from Real Red Cardstock and a flowered heart from Sahara Sand Love You Always Foil Paper.


I attached the foil paper to the smooth heart with liquid glue and then to the Scalloped Heart with Dimensionals.
I attached the entire piece to the top of the box over the ribbon with Dimensionals.
I cut the small label from Real Red Cardstock using the Hydrangea dies and stamped the sentiment from Hydrangea Haven stamp set with Tuxedo Black Ink.
I attached the label to the ribbon with a piece of White Twine which I trimmed and touched behind the bow.


I cut the small label from Real Red Cardstock using the Hydrangea dies and stamped the sentiment from Hydrangea Haven stamp set with Tuxedo Black Ink.
I attached the label to the ribbon with a piece of White Twine which I trimmed and touched behind the bow.
For the final touch I added Rhinestone Basic Jewels to the to of the label.


Supplies:

I hope you like my project today.
See you next time!

Monday, January 18, 2021

Darling Donkeys Iddy Biddy Hearts Valentine Box Tutorial


Shop Stampin' Up! Here

Hi Friends!
My Project today is a gift box to fit some Russel Stover Iddy Biddy Chocolate Hearts.  I used Darling Donkeys stamp set (available for free with a $50 purchase), Layering Ovals dies, Always in my Heart stamp set, Trimming the Town Designer Series Paper, Clever Clasps and Banners Pick a Punch.


I started with a piece of Poppy Parade Cardstock sized  10  x  5".
I scored the 10" side at:
3 1/4  and  4 1/4"
I scored the 5" side at:
1  and  4"

To cut and put the box together please watch my Video Tutorial Here.


I attached Trimming the Town Designer Series Paper in sizes:
(1)  5 1/2  x  2 3/4"
(1)  3  x  2 3/4"
(2)  5 1/2  x  3/4
Put the  5 1/2  x  3/4"  strips on the sides AFTER you put the box together.
Then cut out the side pieces as shown above.


I stamped the image from Darling Donkeys stamp set with Tuxedo Black Ink onto Basic White Cardstock.
I colored the donkey with Stampin' Blends:
Dark Gray Granite for the Mouth, lower ears, tail, hair and hooves.
Light and Dark Smokey Slate for the Donkey's Body,
Light Petal Pink for the lower ears,
Dark Real Red for the Rose and
Light Shaded Spruce for the stem and leaf.
I cut the image out with the Layering Ovals dies and backed it with a Poppy Parade Scallop Oval.
I attached the image to the scallop oval with Liquid Glue and the entire piece to the front of the box with Dimensionals.


I put my Chocolate Hearts into the box.
I embossed the sentiment from Always in my Heart stamp set onto Poppy Parade Cardstock with Versamark ink and embossed it with White Stampin' Emboss Powder and a Heat Tool.
I cut the end with the Banners Pick a Punch.
I bent a 1/4" piece of the top of the strip back and attached it to the top of the box with a Clever Clasp.


For the final touches I added a few things.
I tied a bow with Real Red Sheer Ribbon and attached it to the middle of the Clever Clasp with a Glue Dot.
I put some Wink of Stella on the rose and added some Red Resin Heart Embellishments.


Supplies:
Trimming the Tree Designer Series Paper

I hope you enjoyed my project today.  Thank you for coming.
See you next time!

Friday, January 15, 2021

Rectangle Box Tutorial with Hydrangea Haven


Shop Stampin' Up! Here

Hi Friends!
My project today is a Rectangle Box with a top flap opening.  I used Hydrangea Haven stamp set, Hydrangea dies, Hydrangea Hill Designer Series Paper, Gorgeous Grape Sheer Ribbon and Pastel Pearls.  All of these products are New in the January to June Mini Catalog and available now!


I started with a piece of Old Olive Cardstock sized  9  x  7 1/2".
I scored the 9" side at:
1,  4 1/4,  5 1/4  and 8 1/2".
I scored the 7 1/2" side at:
1,  6  and  7".

To cut and put the box together you can watch my Video Tutorial Here.


I attached Hydrangea Hill DSP to the front, top and sides of the box in sizes:
(1)  4 3/4  x  3"
(2)  4 3/4  x  3/4"
(1)  3  x  3/4"

I attached the DSP to the box with Stampin' Seal Adhesive.


I stamped the Hydrangea onto Basic White Cardstock with Gorgeous Grape Ink.
I stamped the Top flower by stamping off Gorgeous Grape Ink once on scrap and then on over the previously stamped image.
I stamped the leaves with Granny Apple Green Ink.
I cut the image out with the Hydrangea die that matched.
I mounted it on a piece of Basic White Cardstock with Dimensionals.
I attached the Basic White to a piece of Old Olive Cardstock,
sized  2 1/2  x  4 1/4",
with Stampin' Seal.
I attached the entire piece to the front of the box with more Dimensionals.


I tied a small bow with Gorgeous Grape Sheer Ribbon and attached it at the base of the flower with a Glue Dot.
I cut the small tag from the Hydrangea die set and stamped the above sentiment, from Hydrangea Haven stamp set, with Tuxedo Black Ink.
I attached it with a Dimensional, right under the edge of the bow.
I added a little Wink of Stella to the flower and for the final touch, added 3 Pastel Pearls to the lower left of the image.


Supplies:

I hope you enjoyed my project today.  If you have any questions please let me know through the comments.
See you next time!

Wednesday, January 13, 2021

Art Gallery Skinny Milk Carton Box Tutorial


Shop Stampin' Up! Here

Hi Friends!
Today I made my project with the New Art Gallery stamp set and Fine Art Floral Designer Series Paper.  I made a Skinny Milk Carton type box that is  6 1/4  x  3 1/4  x  1 1/2".  I also used the Layering Oval dies.


I started with a piece of Mossy Meadow Cardstock that measures
10  x  7 3/4".
I scored the 10" side at:
1/2,  3 3/4,  5 1/4  and  8 1/2"
I scored the 7 3/4" side at:
1/2,  2  and  6 1/4".

To cut and put the box together you can watch my Video Tutorial Here.


I attached pieces of the Fine Art Floral DSP in sizes:
(1)  1 3/8  x  3 1/8
(1)  4 1/8  x  3 1/8
(2)  1 3/8  x  4 1/8
I attached them with Stampin' Seal.


I stamped the Flower image onto Whisper White Cardstock.
I stamped the background of the flower with So Saffron Ink that was Stamped Off 1 time.
I stamped the next flower petal piece with So Saffron Ink also at full strength.
I stamped the leaves with Mossy Meadow Ink.
I cut the image out with the 2nd largest oval die from the Layering Oval dies.
I cut a Scalloped Oval with the largest Scalloped die.
I attached the pieces together with Liquid Glue.
I attached the image to the box with Dimensionals.


I stamped the sentiment with Tuxedo Black Ink and cut it apart.
I attached the pieces to the box, as shown, with Liquid Glue on 1 side and a Mini Dimensional on the other.

I punched two holes in the top of the box and tied it closed with Mossy Meadow Braided Trim.
For the final touch I added some gold Metallic Pearls to the center of the flower.


Supplies:

I hope you enjoyed my tutorial today.
See you next time!