Friday, May 27, 2022

ONE SHEET OF CARDSTOCK GIFT BOX with GLAD WE'RE FRIENDS STAMP SET - Stampin' Up!


Hi Friends!
My project today is a  4 1/2  x  3  x  3/4" Gift Box that I made from one sheet of 8 1/2 x 11" Cardstock.  I used Glad We're Friends stamp set, Fabulous Frames dies, Stylish Shapes dies, 2022-2024 In Color Designer Series Paper and Matte Decorative Dots.


I started with a piece of Tahitian Tide Cardstock sized
10 1/2  x  8 1/2".
I scored the  10 1/2" side at:
3/4,  5 1/4  and  6".
I scored the  8 1/2" side at:
3 1/4,  4,  7 1/4  and  8".
To cut and put the box together you can watch my Video Tutorial Here.
Below is a picture of how your Cardstock should look after scoring and cutting.


I attached 3 pieces of Tahitian Tide 2022-2024 In Color Designer Series Paper to the box.
(3)  4 1/4  x  3".
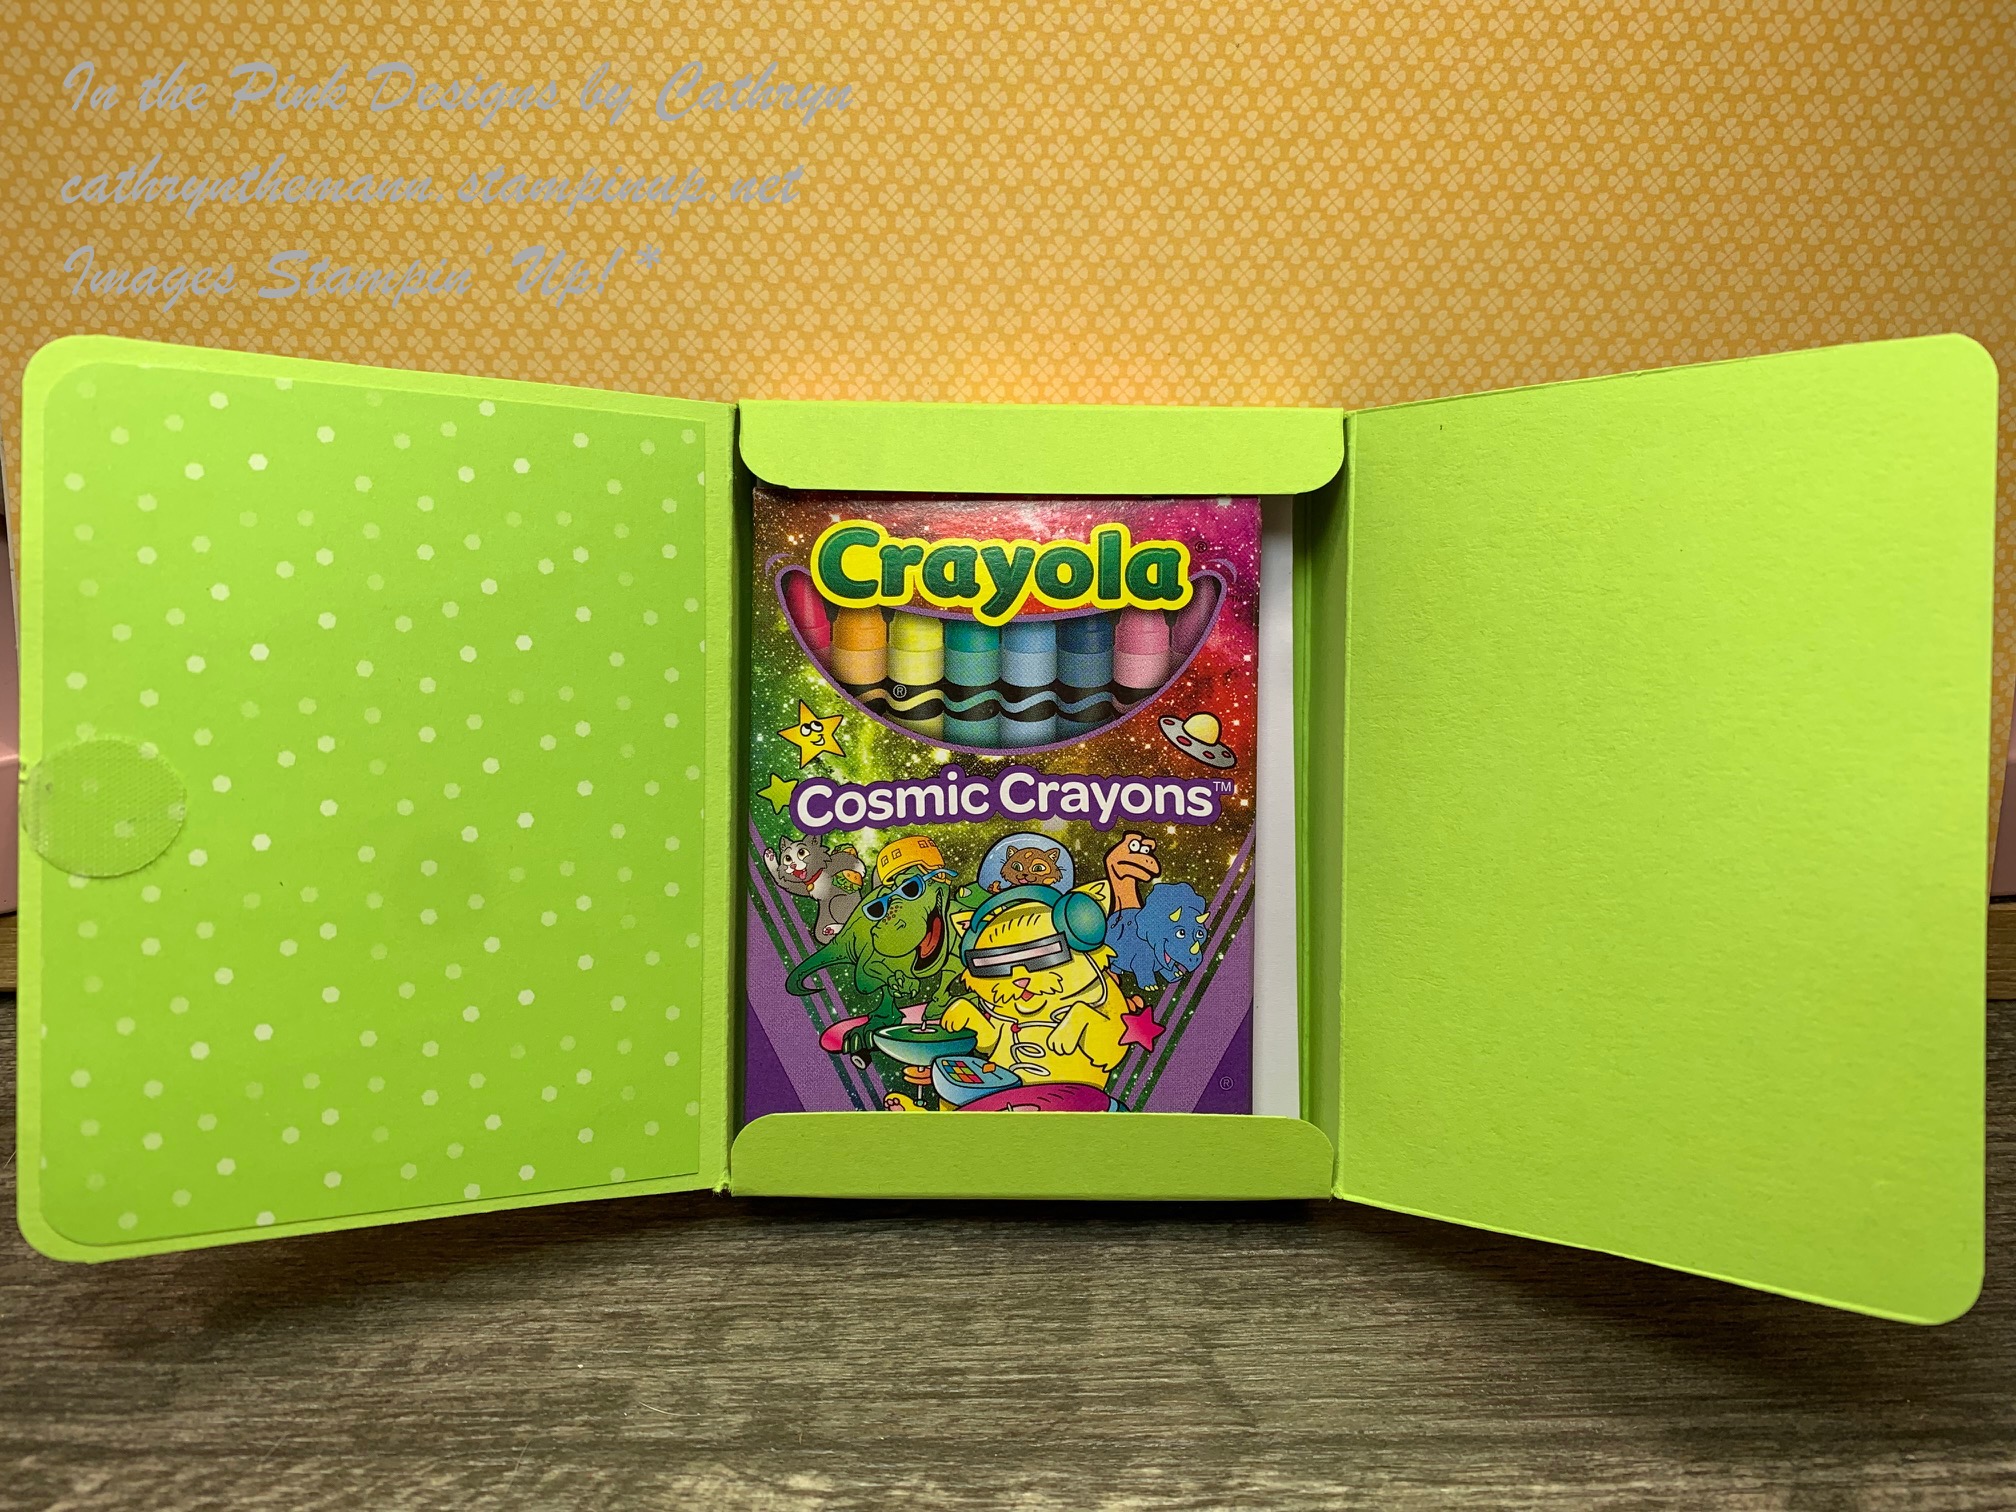
I attached the Plaid side of the paper to the front flap and the Polka Dots side to inside the flap and the body of the box.
I attached the DSP to the box with Liquid Glue.
I cut a half circle out of the inside flap of the box with a 2" circle punch.


I cut a frame from Tahitian Tide Cardstock using the Fabulous Frames dies.
I stamped the image, from Glad We're Friends stamp set, onto Basic White Cardstock using Tuxedo Black Ink.
I cut the image out using the same Frame die.
I used only the outside frame from Tahitian Tide Cardstock and the inside piece from the Basic White Cardstock.


I colored the image with Stampin' Blends.
I colored the Ears and Tongue with Dark Petal Pink.
I colored the outside fur of the Dog with light Soft Suede.
I colored the Fan with Light and Dark Smokey Slate.
I colored around the Dog and Fan with Light Pool Party.
I colored the streamers with Light Balmy Blue.


I attached the Frame to the front of the box first, then the image, with Liquid Glue.
I stamped the sentiment onto Basic White Cardstock with Tahitian Tide Ink.
I cut the sentiment out with a  1 7/8" square die from Stylish Shapes dies.
I attached the square inside the flap with Liquid Glue.
I tied Glittered Organdy Ribbon around the fold of the box and tied a bow on the outside.
For the final touch I added 3 2022-2024 In Color Matte Decorative Dots around the image.


Supplies:
Glad We're Friends stamp set
Fabulous Frames dies
Stylish Shapes dies
2022-2024 In Color Designer Series Paper
Tahitian Tide Cardstock
Basic White Cardstock
Tahitian Tide Ink
Tuxedo Black Ink
Glittered Organdy Ribbon
2022-2024 In Color Decorative Dots
Tear and Tape
Liquid Glue
Dark Petal Pink Stampin' Blends
Light Soft Suede Stampin' Blend
Light and Dark Smokey Slate Stampin' Blends
Light Pool Party Stampin' Blend
Simply Scored
Take Your Pick Tool
2" or similar Circle Punch
3/8" Adhesive Velcro Dots

Thank you for visiting my Blog today.  I hope you enjoyed my Doggy Box.
See you next time!

Love and Hugs,
Cathryn

Wednesday, May 25, 2022

SWEETEST CHERRIES NESTING BOX with AWASH IN BEAUTY - Stampin' Up!


Hi Friends!
My project today is a Nesting Box that measures
3 3/4  x  4 3/4  x  1 1/4".  I used Sweetest Cherries stamp set, the Cherry Builder Punch, Awash in Beauty Designer Series Paper, Stylish Shapes dies, Layering Circle dies and Natural Finish Ribbon.


I started with the bottom of the box first.
I used a piece of Merry Merlot (or Mossy Meadow) Cardstock sized
10 1/2  x  6".
I scored the  10 1/2" side at:
1/2,  4 1/4,  5 1/2  and  9 1/4".
I scored the  6" side at:
1 1/4"
Next I did the top of the box.
I used a piece of Awash in Beauty Designer Series Paper sized
10 1/2  x  5".
Make sure your pattern is upside down when you are scoring the long side.
I scored the 10 1/2" side at:
1/2,  4 1/4,  5 1/2  and  9 1/4".
I scored the  5" side at:
1 1/4".
To cut and put the box together you can watch my Video Tutorial Here.
Below are pictures of how the top and bottom of your box should look after scoring and cutting.


I cut two circles using the Stylish Shapes dies.
One from Basic White Cardstock that measures 2 1/2".
One from Merry Merlot Cardstock that measures  3".
I cut a scalloped circle using the Layering Circle dies.
One from Mossy Meadow Cardstock that measures 2 7/8".


I stamped the Basic White Circle with the background stamp, from Sweetest Cherries stamp set, with Soft Seafoam Ink.
I stamped the Cherries onto Basic White Cardstock with Merry Merlot Ink.
I stamped the Stems and Leaves with Mossy Meadow Ink.
I cut the images out using the Cherry Builder Punch.


I attached the the 3 circles together, with the largest on the bottom with Liquid Glue.
I attached the Cherries, Stems and Leaves on to the Basic White circle with Liquid Glue.


I wound Natural Finish Ribbon around the long side of the box and tied a bow at the top.
I put 2 Dimensionals onto each side of the back of the Cherry embellishment and attached it over the ribbon.


I cut a label from Soft Seafoam Cardstock using the Stylish Shapes dies.
I stamped the "thank you" sentiment (the top only of one of the stamps) to the left side.
I cut off the right end of the label, leaving about 1/4" after the sentiment.
I attached the label to the left side under the cherries with a Dimensional on the left and Liquid Glue on the right.
I made a small bow with Linen Thread and attached it to the top of the Stems with Liquid Glue.
For the final touch I added 2 Iridescent Rhinestone Basic Jewels to the end of the sentiment.


Supplies:
Layering Circle dies
Merry Merlot Cardstock
Mossy Meadow Cardstock
Basic White Cardstock
Soft Seafoam Cardstock
Merry Merlot Ink
Mossy Meadow Ink
Soft Seafoam Ink
Iridescent Rhinestone Basic Jewels
Linen Thread
Tear and Tape
Liquid Glue
Dimensionals
Stamp and Pierce Mat
Silicone Mat
Simply Scored
Take Your Pick Tool

Thank you for visiting my Blog today.  I hope you enjoyed my Cherries Nesting Box.
See you next time!

Love and Hugs,
Cathryn

Tuesday, May 24, 2022

TEA POCKET GIFT BOX with CUP OF TEA stamp set - Stampin' Up!


Hi Friends!
My project today is a Tea Pocket Gift Box that will fit 3 tea packets.  It measures  3 1/4  x  3 1/4  x  1/2".
I used Cup of Tea stamp set, Teacup dies, Tea Boutique Designer Series Paper, Stylish Shapes dies and Layering Circle dies.


I started with a piece of Sweet Sorbet Cardstock sized
10 3/4  x  3 3/4".
I scored the  10 3/4" side at:
3 1/4,  3 3/4,  7  and  7 1/2".
I scored the  3 3/4" side at:
1/2".
To cut and put the box together you can watch my Video Tutorial Here.
Below is a picture of how your Cardstock should look after cutting.


Next I flipped my Cardstock over so I was looking at the inside of the box.  I folded the the Square that still has the long rectangle attached on the bottom to the inside corner.  
Below is a picture of how your Cardstock should look from the inside after folding one side in.
I glued the folded triangle down with Liquid Glue.


I attached Tea Boutique Designer Series Paper to the box.
(3)  3 x 3"  for the inside and outside of the front flap and the back.
(1)  3 x 3" that I cut in half diagonally.  I glued 1 piece to the inner right of the inside of the box.
I attached the DSP to the box with Liquid Glue.


I stamped the teacup image onto Basic White Cardstock with Tahitian Tide Ink.
I stamped the large tag outline onto Tahitian Tide Cardstock with Tahitian Tide Ink.
I stamped the sentiment inside the tag with Tuxedo Black Ink.
I cut the cup and tag out using the Teacup dies.


I cut a 2 1/4" scalloped circle from Tahitian Tide Cardstock using the Layering Circle dies.
I cut a 2 1/8" dotted circle from Sweet Sorbet Cardstock using the Stylish Shapes dies.
I attached the Circles together with Liquid Glue.


I attached a piece of White Baker's Twine to the back of the right side of the Teacup with Scotch Tape.
I attached the Teacup to the circles with Liquid Glue.
I attached the entire piece to the front of the box with Dimensionals.


I attached the Tag to the other end of the Baker's Twine with a Dimensional and attached it to the box on the lower right side.
For the final touch I wound Glittered Organdy Ribbon around the left side of the front flap and tied a knot in the middle of the top.  I put a Glue Dot under the Knot to keep it in place.


Supplies:
Layering Circle dies
Sweet Sorbet Cardstock
Tahitian Tide Cardstock
Basic White Cardstock
Tahitian Tide Ink
Tuxedo Black Ink
White Baker's Twine
Glittered Organdy Ribbon
Liquid Glue
Glue Dots
Dimensionals
Stampin' Pierce Mat
Simply Scored
Take Your Pick Tool
3/8" Adhesive Velcro Dots

Thank you for visiting my Blog today.  I hope you enjoyed my Teabag Pocket.
See you next time!

Love and Hugs,
Cathryn

Friday, May 20, 2022

THIS BIRTHDAY PIGGY FOLDOVER BOX with BLOSSOMING HAPPINESS DIES - Stampin' Up!


Hi Friends!
My project today is a  4 x 2 1/2 x 1" Fold Over box.  I used This Birthday Piggy stamp set, Blossoming Happiness dies, Rectangle Stitched dies, Fabulous Frames dies, Tea Boutique Designer Series Paper and Fun Flowers Resin Shapes.


I started with a piece of Crushed Curry Cardstock sized
11 x 4 1/2".
I scored the  11" side at:
1,  5,  6  and  10".
I scored the  4 1/2" side at:
1  and  3 1/2".
To cut and put the box together you can watch my Video Tutorial Here.
Below is a picture of how your Cardstock should look after scoring and cutting.


I attached pieces of Tea Boutique Designer Series Paper to the box.
(1)  3 3/4  x  2 1/4"  for the top.
(2)  3 3/4  x  3/4"  for the long sides.
(2)  2 1/4  x  3/4"  for the short sides.
I attached the DSP to the box with Liquid Glue.


I stamped the image, from This Birthday Piggy stamp set, onto Basic White Cardstock with Tuxedo Black Ink.
I colored the image with Stampin' Blends.
Light and Dark Petal Pink for the pig.
Light Smokey Slate for the hoof.
Light and Dark Crumb Cake for the dirt.
Light Granny Apple Green for the leaves and grass.
Dark Daffodil Delight for the flowers.
I cut the image out with a  2 3/4 x 1 3/8" die from the Rectangle Stitched dies.


I cut the left edge of a  3 3/8  x  1 3/4" piece of Crushed Curry Cardstock using the Notebook edge die from Blossoming Happiness dies.
I attached the image rectangle onto of the Crushed Curry rectangle with Liquid Glue.
I wound Black and White Gingham Ribbon around the left side of the box twice and tied a bow at the top.
I attached the image piece, to the right of where the ribbon is, with Dimensionals.


I stamped the sentiment, from This Birthday Piggy stamp set, onto Poppy Parade Cardstock with Tuxedo Black Ink.
I cut the sentiment out with a label from Fabulous Frames dies and attached it to the bottom right side of the box with a piece of a Dimensional and Liquid Glue.
For the final touch I added a Fun Flower Resin Shape to the right side of the sentiment label.


Supplies:
Crushed Curry Cardstock
Poppy Parade Cardstock
Basic White Cardstock
Tuxedo Black Ink
Light and Dark Petal Pink Stampin' Blends
Light Granny Apple Green Stampin' Blend
Dark Daffodil Delight Stampin' Blend
Light Poppy Parade Stampin' Blend
Light and Dark Crumb Cake Stampin' Blends
Black and White Gingham Ribbon
Tear and Tape
Liquid Glue
Dimensionals
Simply Scored
Take Your Pick Tool

Thank you for visiting my Blog today.  I hope you enjoyed my Piggy Box.
See you next time!

Love and Hugs,
Cathryn

Wednesday, May 18, 2022

GLAD WE'RE FRIENDS CRAYON & PAPER BOX with ALL THAT DIES - Stampin' Up!


Hi Friends!
My project today is a Favor Box that holds an 8 pack of Crayons and 75  4 x 3" pieces of blank paper.  It measures  4 1/4  x  3 1/4  x  3/4".  I used Glad We're Friends stamp set, All That dies, Rectangle Stitched dies, Butterfly Kisses Designer Series Paper and 2022-2024 In Color Designer Series Paper.


I started with a piece of Parakeet Party Cardstock sized
11  x  6 3/4".
I scored the  11" side at:
3 1/4,  4,  7 1/4  and  8".
I scored the  6 3/4" side at:
1/2,  1 1/4,  5 1/2  and  6 1/4".
To cut and put the box together you can watch my Video Tutorial Here.
Below is a picture of how your Cardstock should look after scoring, cutting and rounding the corners.


I attached several pieces of 2 different Designer Series Paper to the box.
Butterfly Kisses DSP
(1)  3 x 4   for the top of the front flap.
(1)  2 3/4  x  4"  for the top of the inside flap.
(2)  1/2  x  4"  for the long sides
(2)  3  x  1/2"  for the short sides.
2022-2024 In Color DSP (Parakeet Party Dots)
(1)  3 x 4"  for the inside of the top flap.
I attached the DSP to the box with Liquid Glue.


I stamped the Cat image, from Glad We're Friends stamp set, onto Basic White Cardstock with Tuxedo Black Ink.
I cut the image out with a frame die from All That dies.
I colored the image with Stampin' Blends.
Dark Flirty Flamingo for the cheeks.
Light and Dark Pumpkin Pie for the Cat.
Dark Daffodil Delight for the Crown.
Light Pool Party for around the outside of the Cat.


I cut a  3 1/2  x 2 1/4" stitched rectangle from 2022-24 In color DSP using the Rectangle Stitched dies.
I stamped the sentiment onto the bottom of the rectangle with Tuxedo Black Ink.
I attached the rectangle to the top flap of the box with Liquid Glue.
I attached the image label onto the rectangle with Liquid Glue.


For the paper inside I used a 150 sheet 4 x 6" paper pad from Dollar Tree.  I took 37 sheets and cut them in half.  I got 4 sets of these sheets from one paper pad.
I attached a 5/8" Adhesive Velcro Dots inside the top flap and inside flap for a closure.
I added some Wink of Stella glitter to the crown and for the final touch I added  3  2022-2024 In Color Matte Decorative Dots mourned the image.


Supplies:
Rectangle Stitched dies
Butterfly Kisses Designer Series Paper
2022-2024 In Color Designer Series Paper
Basic White Cardstock
Tuxedo Black Ink
Light Flirty Flamingo Stampin' Blend
Light and Dark Pumpkin Pie Stampin' Blends
Dark Daffodil Delight Stampin' Blend
Light Pool Party Stampin' Blend
Wink of Stella
Tear and Tape
Liquid Glue
2022-2024 In Color Matte Decorative Dots
5/8" Adhesive Velcro Dots
4 x 6" Paper Pad and 8 Pack Crayons - Dollar Tree

Thank you for visiting my Blog today.  I hope you enjoyed my Crayon box.
See you next time!

Love and Hugs,
Cathryn

Tuesday, May 17, 2022

ELEPHANT PARADE CURLY Q TREAT BOX with FABULOUS FRAMES DIES - Stampin' Up!


Hi Friends!
My project today is a Treat Box that measures
4 1/2  x  2 1/2  x  1 1/2".  I used Elephant Parade stamp set, the Elephant dies,  Fabulous Frames dies and Butterfly Kisses Designer Series Paper.  I made some Curly Q pieces for the top of the box with some Cardstock and my Bone Folder.


I started with a piece of Parakeet Party Cardstock sized
8 1/2  x  6 1/4".
I scored the  8 1/2" side at:
2 1/2,  4,  6 1/2  and  8".
I scored the  6 1/4" side at:
1 1/2,  4 3/4  and  5 3/4".
To cut and put the box together you can watch my Video Tutorial Here.
Below is a picture of how your Cardstock should look after scoring and cutting.


I attached pieces of Butterfly Kisses Designer Series Paper to the box.
(2)  2 1/4  x  3"  for the front and back.
(2)  1 1/4  x  3"  for the long sides.
(2)  2 1/4  x  3/4"  for the tops.
I attached the DSP to the box with Liquid Glue.


I stamped the Elephant, Balloon and 3 peanuts, from Elephant Parade stamp set, onto Basic White Cardstock with Tuxedo Black Ink.
I cut the images out using the Elephant dies.
I colored the images with Stampin' Blends.
Light Flirty Flamingo for the inner ears.
Light and Dark Smokey Slate for the Elephant.
Light Fresh Freesia for the Balloon.
Light Crumb Cake for the Peanuts.


I cut 2 frames out using the Fabulous Frames dies.  One from Fresh Freesia Cardstock and one from Butterfly Kisses DSP.
I used the outer part from the Fresh Freesia Cardstock and the inner piece from Butterfly Kisses DSP.
I attached the frame pieces to the middle front of the box with Liquid Glue.
I attached the Elephant in the middle of the frame with Dimensionals.
I put a Dimensional on the Balloon and Liquid Glue on the string to attach the Balloon.
I attached the Peanuts with Liquid Glue.


I stamped the sentiment, from Elephant Parade stamp set, onto Parakeet Party Cardstock with Tuxedo Black Ink.
I cut the sentiment out with a small label die from the Fabulous Frames dies.
I cut 2 pieces of Cardstock  1/8 x 11", one from Parakeet Party Cardstock and one from Fresh Freesia Cardstock.
I curled each end of each piece with my Bone Folder and then wound it around my finger.
I clipped them onto the middle top of the box with a small Binder Clip.
I tucked the sentiment under the edge of the clip.
For the final touch I added some Wink of Stella Glitter to the Balloon.


Supplies:
Parakeet Party Cardstock
Fresh Freesia Cardstock
Basic White Cardstock
Tuxedo Black Ink
Light and Dark Smokey Slate Stampin' Blends
Light Fresh Freesia Stampin' Blend
Light Flirty Flamingo Stampin' Blend
Light Crumb Cake Stampin' Blend
Tear and Tape
Liquid Glue
Dimensionals
Wink of Stella
Simply Scored
Take Your Pick Tool
Binder Clips - Walmart
Peanut Erasers - Target Dollar Spot

Thank you for visiting my Blog today.  I hope you liked my Elephant Box.
See you next time!

Love and Hugs,
Cathryn