Shop Stampin' Up! Here

I started with a piece of Basic Black Cardstock sized
9 1/2 x 8 1/4"
I scored the 9 1/2" side at:
1 1/2, 4, 5 1/2 and 8"
I scored the 8 1/4" side at:
3/4, 2 1/4, 6 and 7 1/2"
To cut and put the box together you can watch my Video Tutorial Here.
Below is a picture of how your Cardstock should look after scoring and cutting.

I attached several pieces of patterned paper from my stash to the box.
(2) 2 1/4 x 3 1/2" front and back of top flap
(2) 1 1/4 x 3 1/2" long sides
(2) 2 1/4 x 1 1/4" short sides

I stamped the Vampire Ghost and Pumpkins, from Playful Ghosts stamp set, onto Basic White Cardstock with Tuxedo Black Ink.
I fussy cut the images out by hand and colored them with Stampin' Blends.
Light & Dark Highland Heather - Cape
Dark Smokey Slate - Inside of Ear
Light Basic Black - Hat
Light Bubble Bath - Cheeks
Dark Granny Apple Green - Leaf and Stems
Dark Pumpkin Pie - Pumpkins

I stamped the sentiment "BOO!" onto Gorgeous Grape Cardtsock with Tuxedo Black Ink.
I cut the sentiment out using a label from the Something Fancy Dies.

I cut a 1 7/8 x 3" rectangle, out of Bright's Designer Series Paper, using the Something Fancy Dies.
I attached the Ghost to the rectangle first, then the Pumpkins with Dimensionals.
I attached the end of the label to the top/right of the rectangle with Liquid Glue then cut off the end.

I attached the rectangle to the top of the box with Dimensionals.
I added 2 sets of 3/8" Adhesive Backed Velcro Dots to the side flap for the closure.
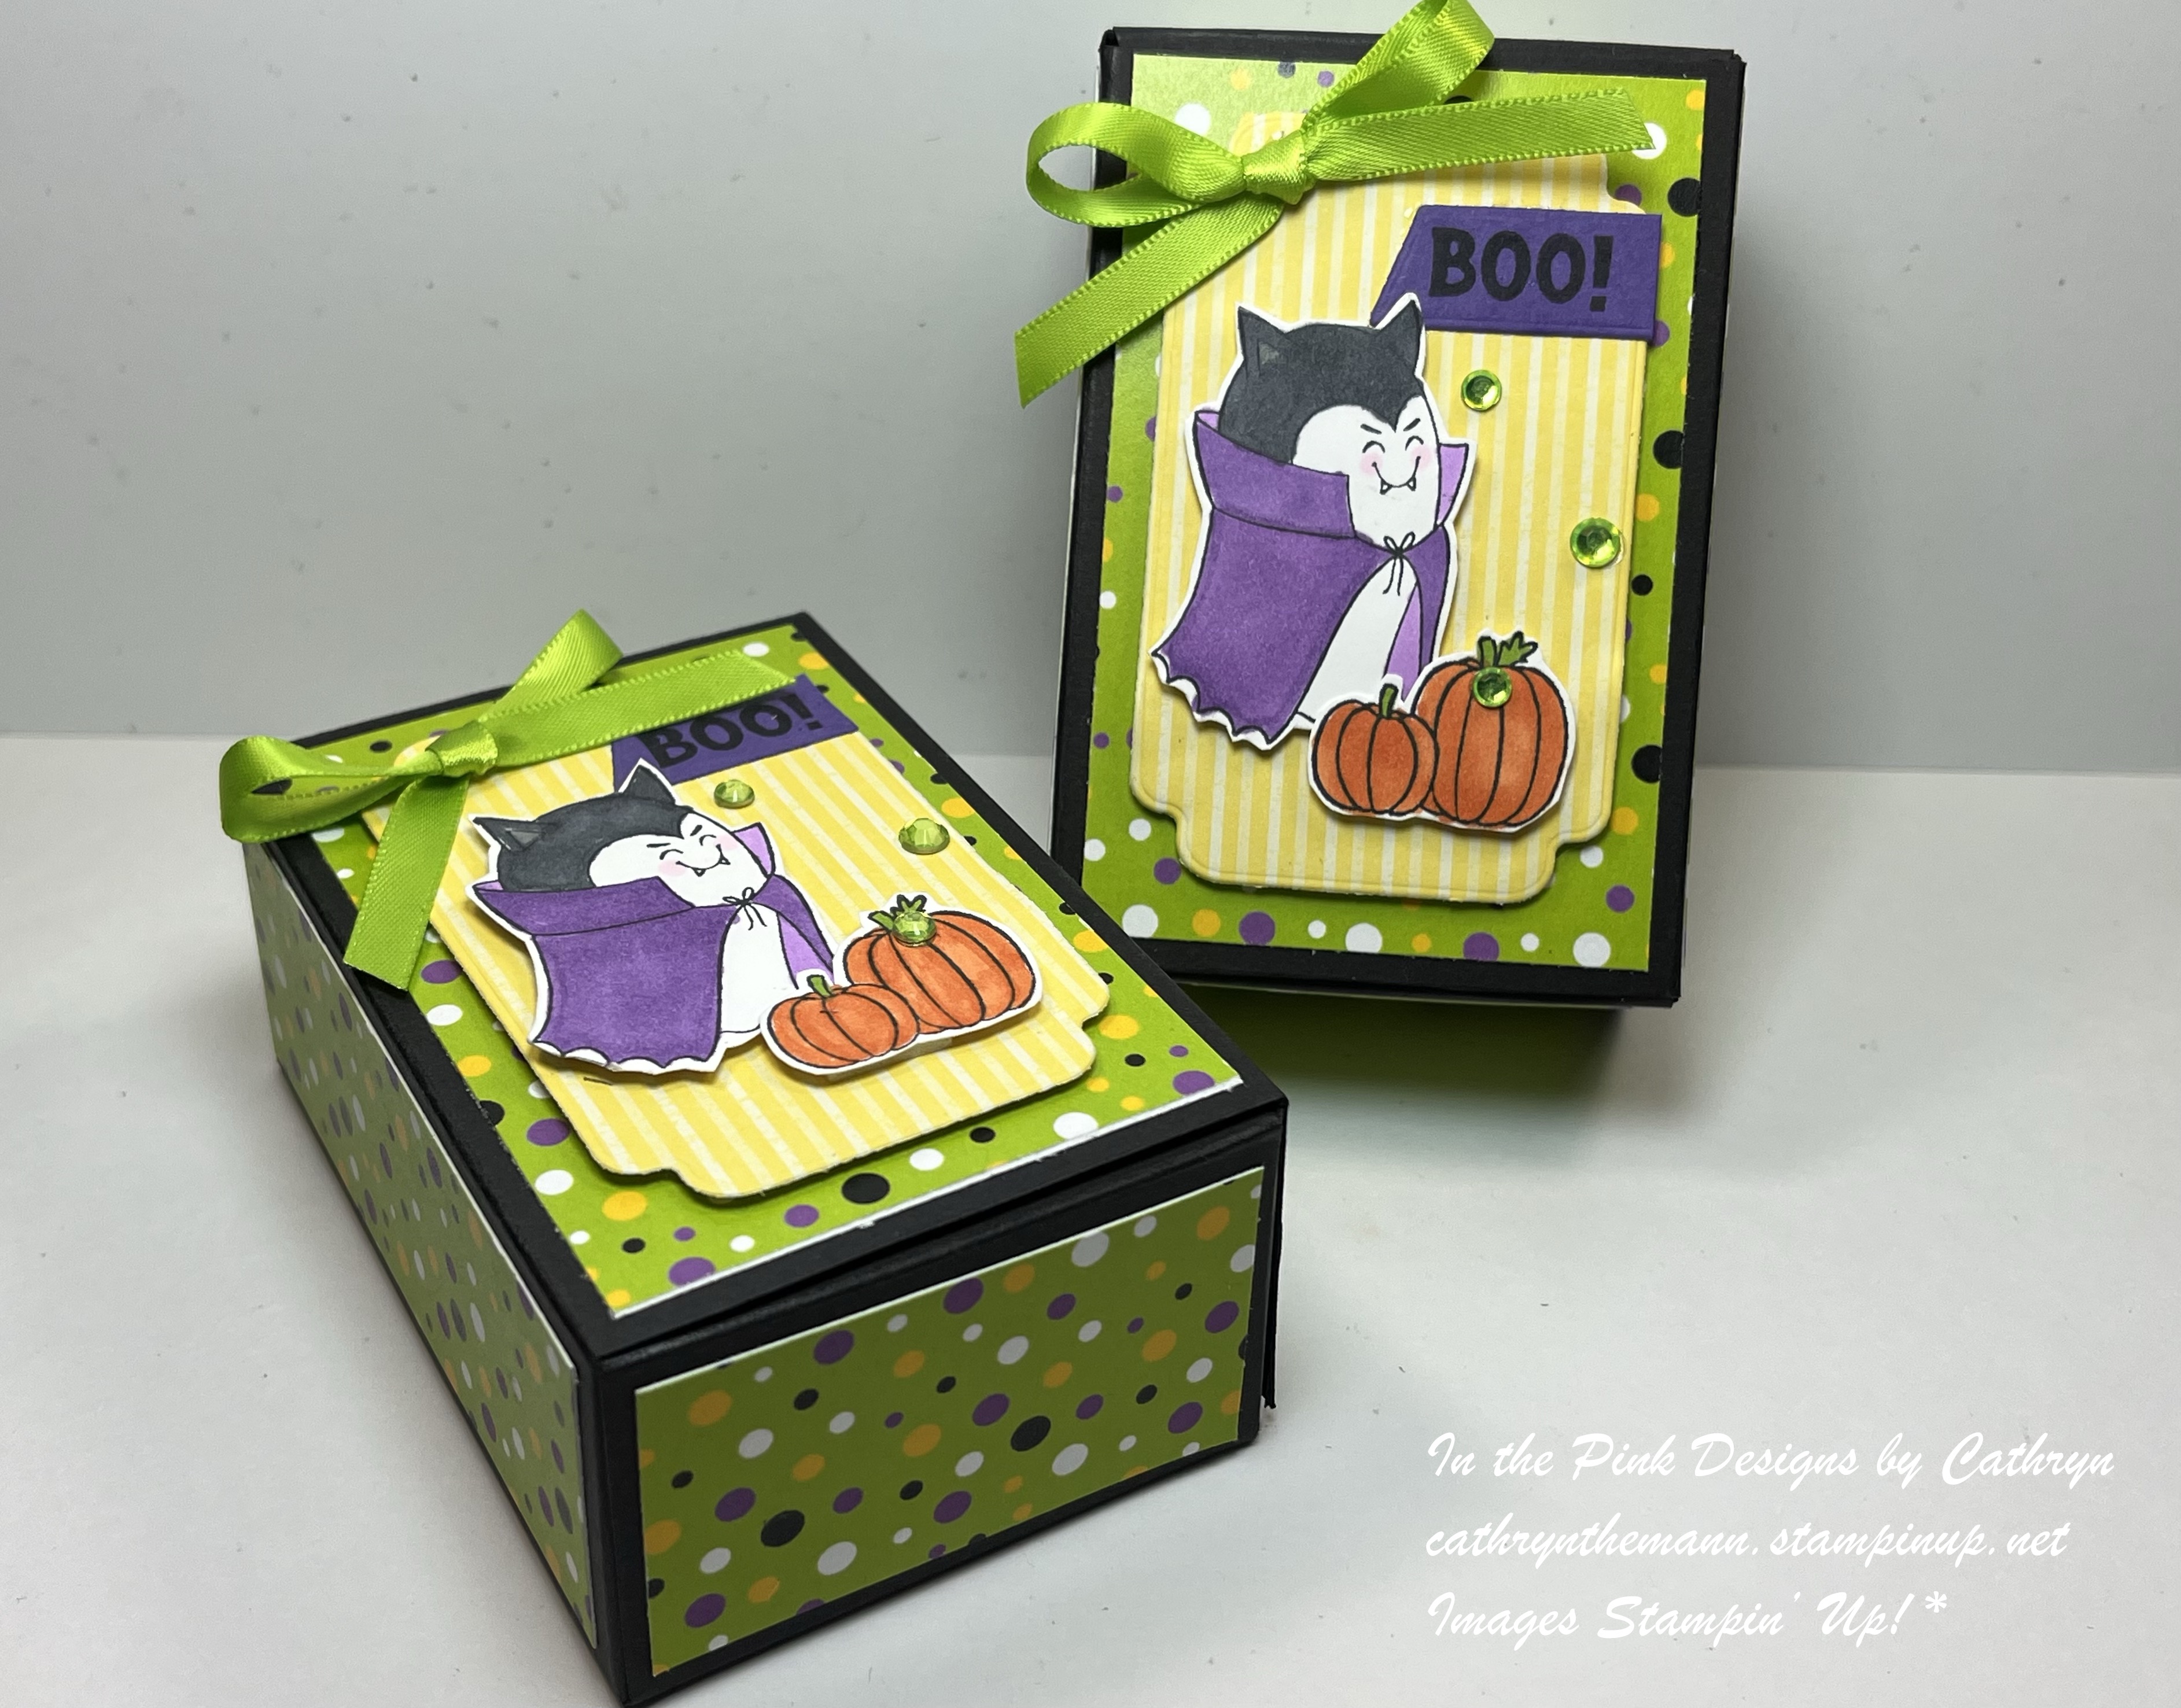
I tied a bow with some green ribbon and attached it to the upper left of the rectangle with a Glue Dot and Liquid Glue.
For the final touch I added 3 Green Gems around the Rectangle.

Supplies:
Playful Ghosts stamp set
Something Fancy dies
Brights Designer Series Paper
Basic Black Cardstock
Gorgeous Grape Cardstock
Basic White Cardstock
Tuxedo Black Ink
Stampin' Blends
Gems & Ribbon from my Stash
Liquid Glue
Dimensionals
3/8" Adhesive Backed Velcro Dots
Tools
Simply Scored
Take Your Pick Tool
Thank you for visiting my Blog today. I hope you enjoyed my Treat box. See you next time!
Love & Hugs,
Cathryn