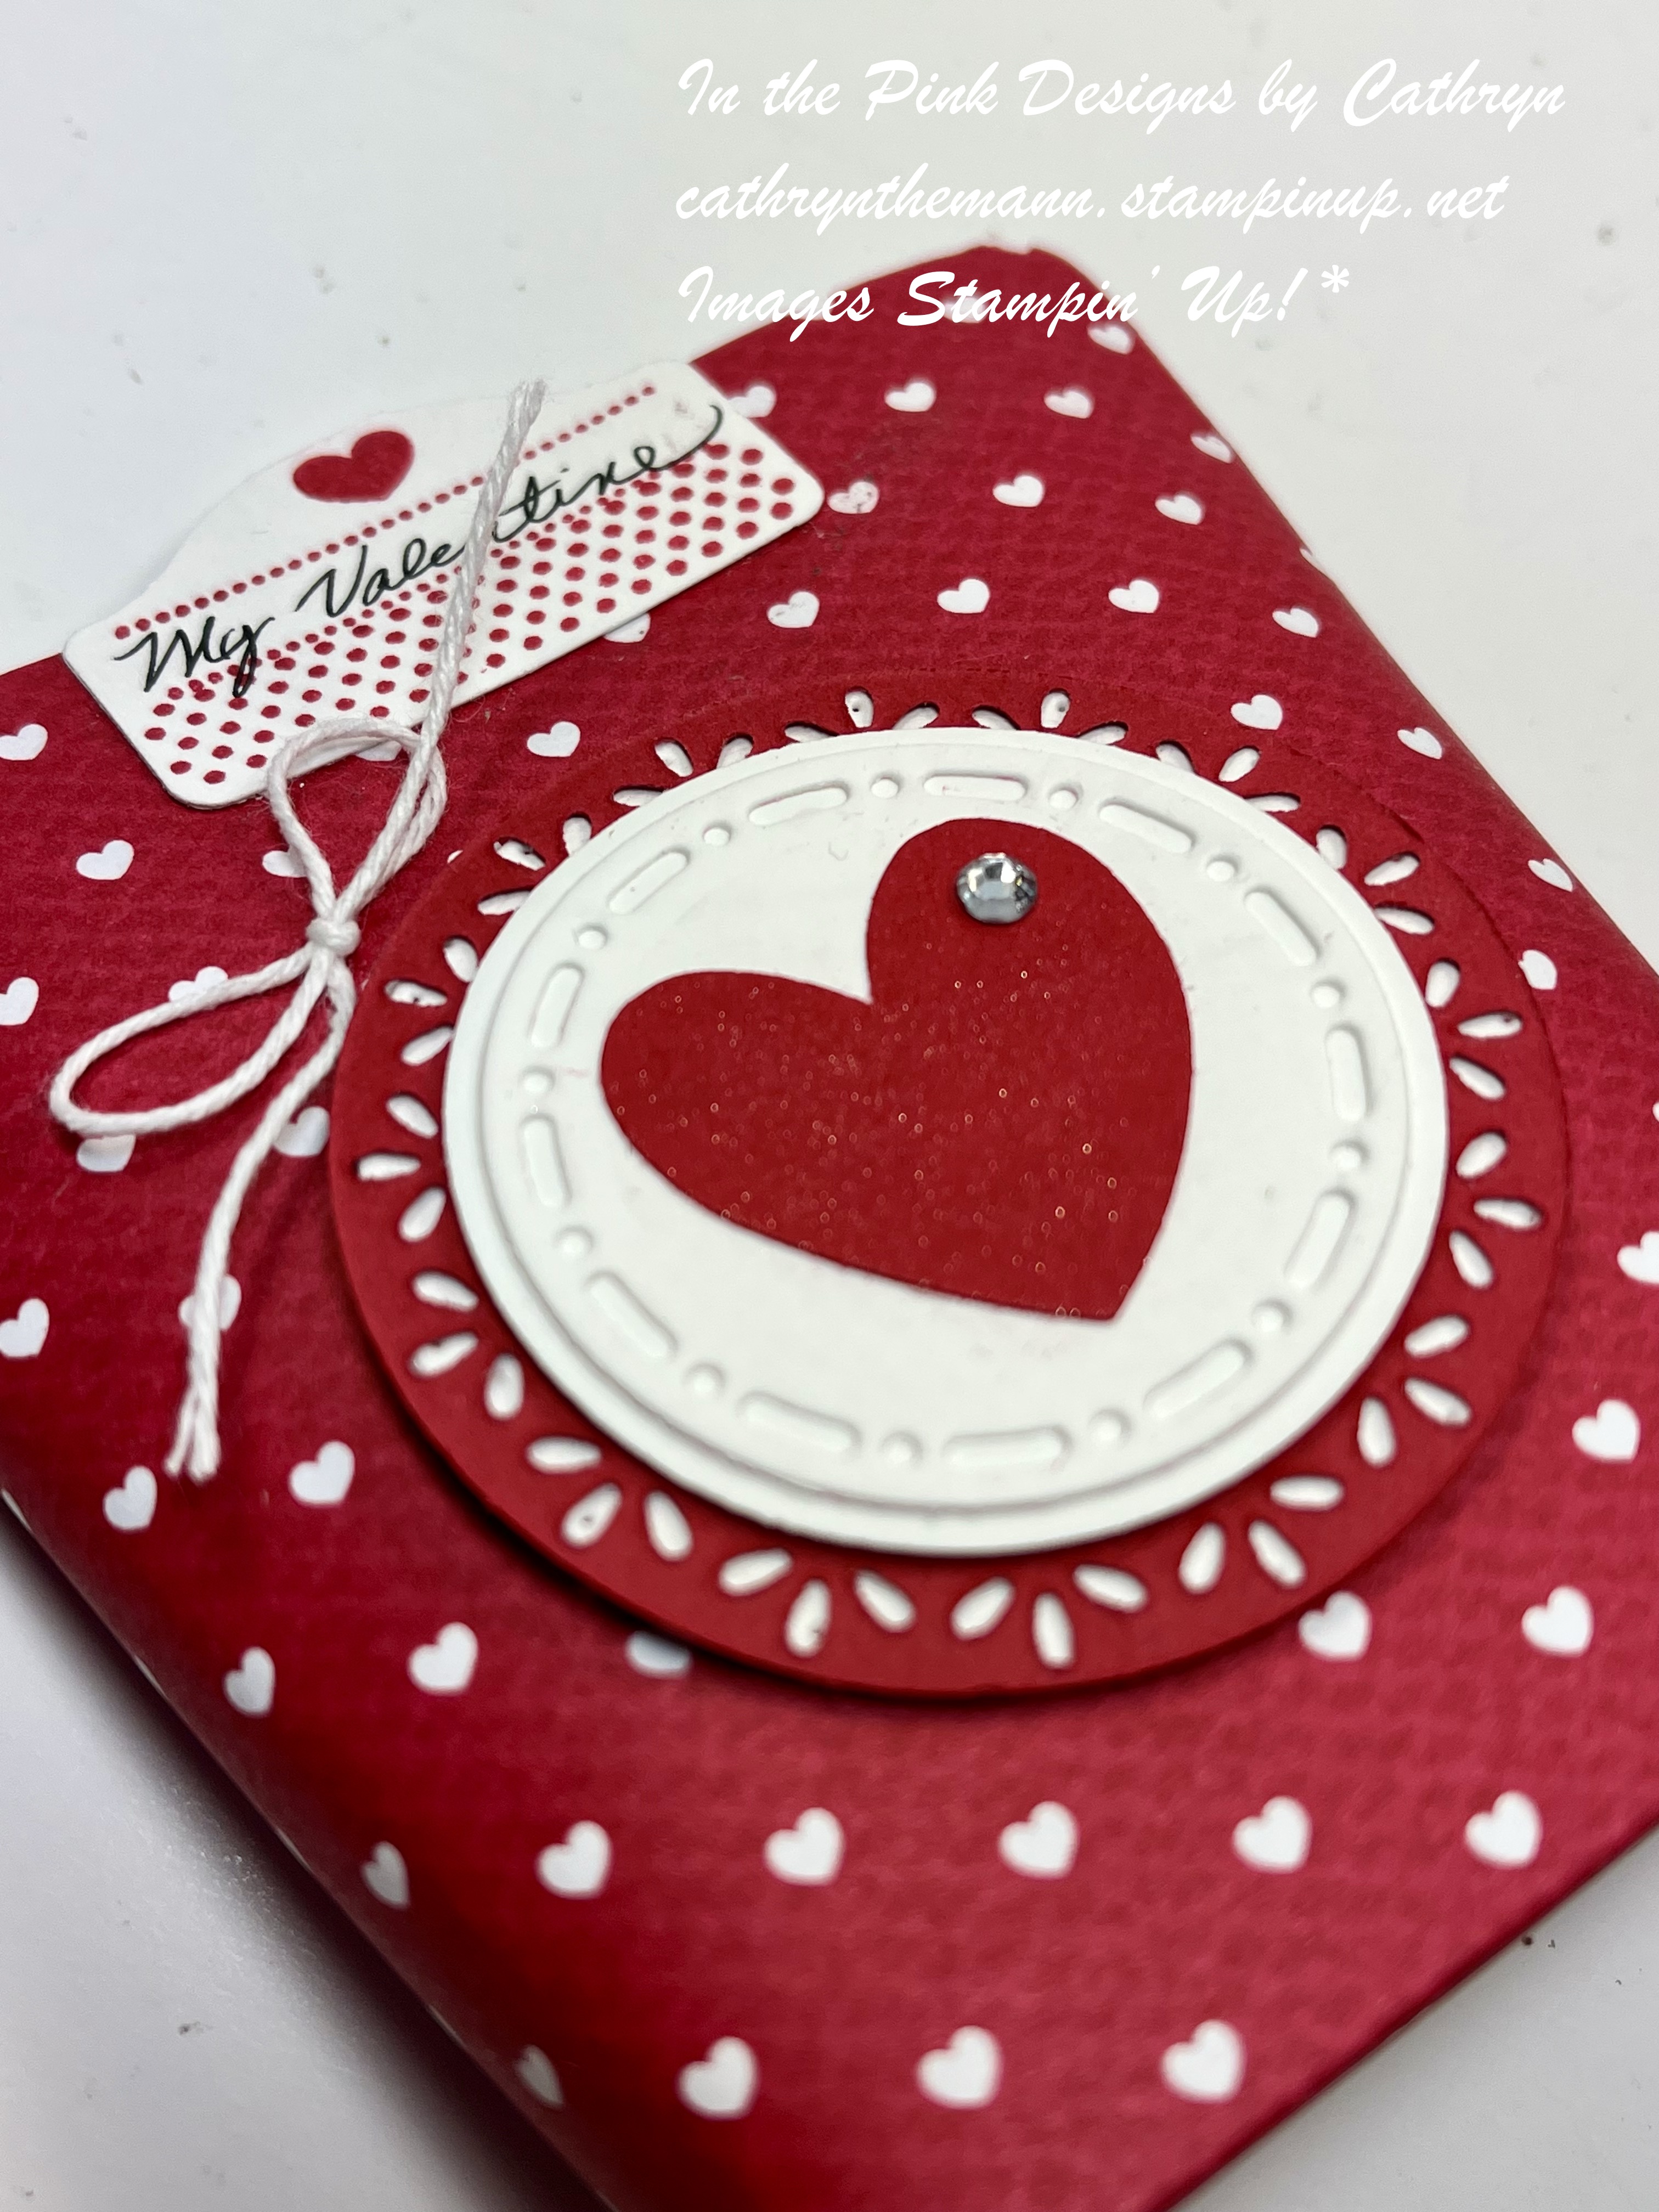
I started with a piece of Real Red Cardstock sized
8 1/2 x 7"
I scored the 8 1/2" side at:
1/2, 3 1/4, 4 1/2 and 7 1/4"
I scored the 7" side at:
1 1/4, 5 1/4 and 6 1/4"
To put the box together you can watch my Video Tutorial Here!

I attached several pieces of Fruit Salad Designer Series paper to the box.
(2) 2 1/2 x 3 3/4" front and back
(2) 1 x 3 3/4" long sides
(2) 2 1/2 x 3/4" short top strips
(1) 2 1/2 x 1" bottom

I stamped the Dino, Top Hat and Bowtie onto Basic White Cardstock with Tuxedo Black Ink.
I colored the images with Stampin' Blends.
Light & Dark Granny Apple Green - Dino
Light Smokey Slate - Nails
Dark Real Red - Hat Band and Bowtie
Light Basic Black - Top Hat
I cut the images out using the Darling Dino dies.

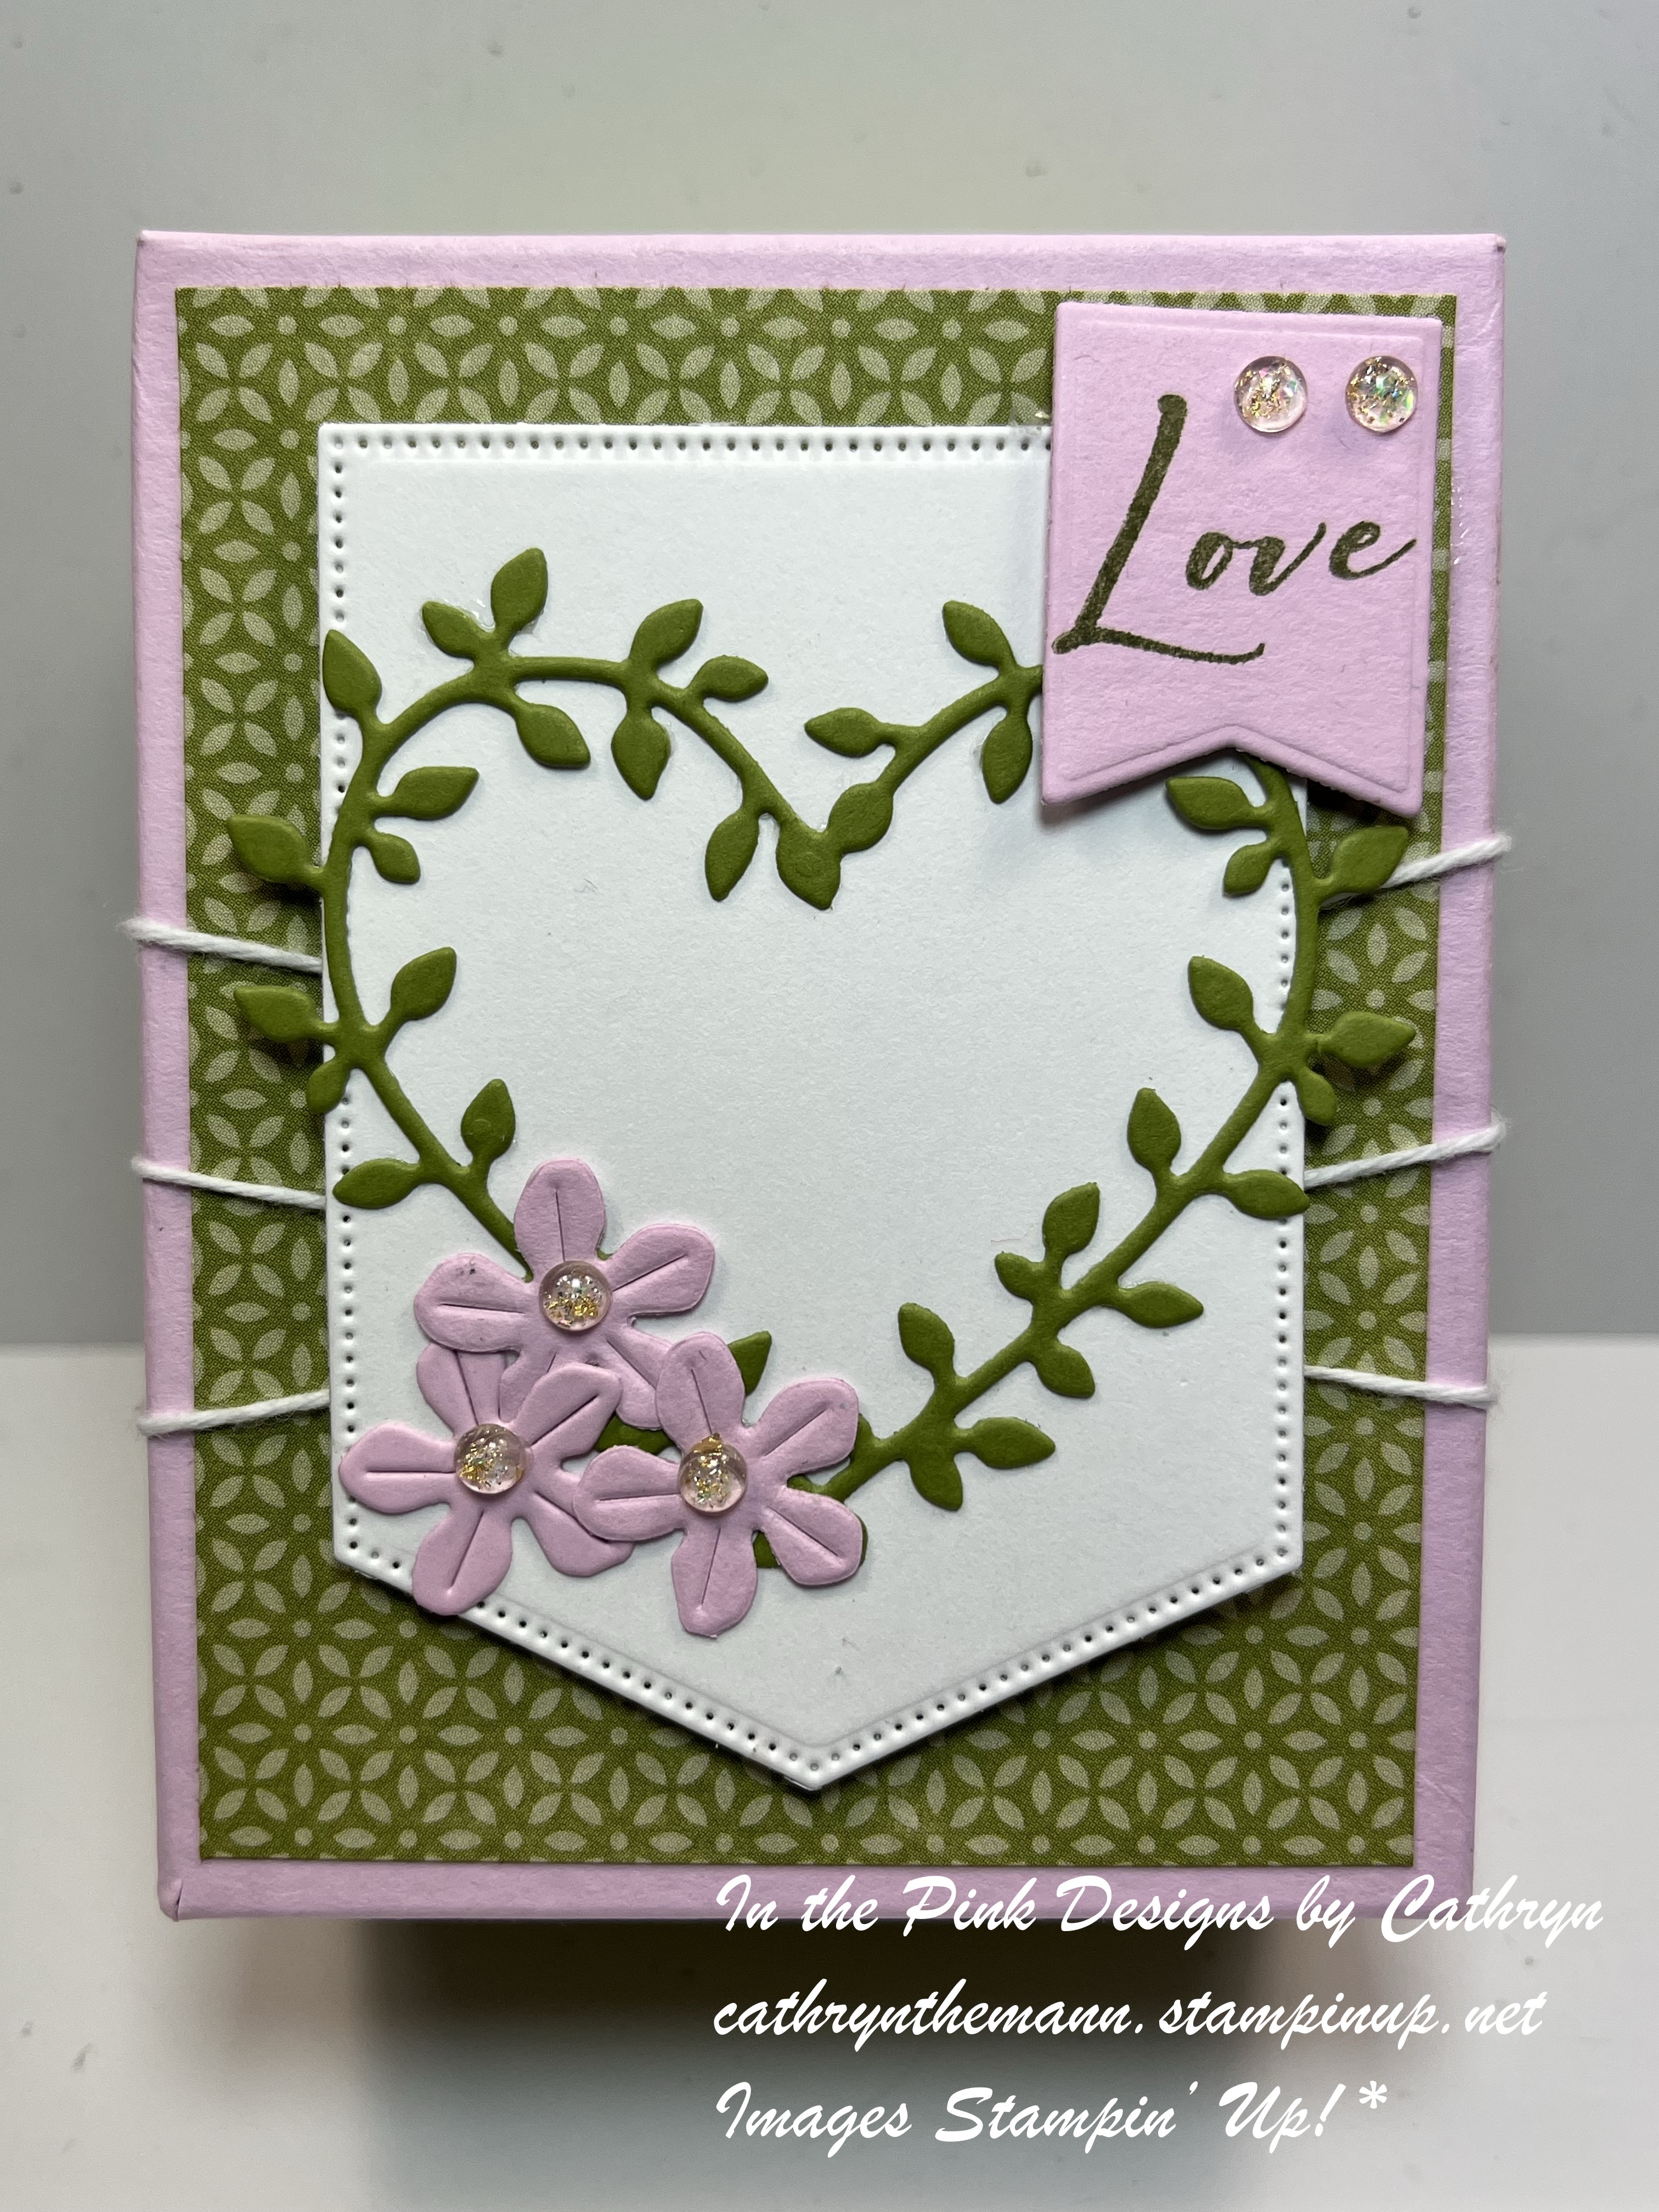
I cut a label from Fruit Salad Designer Series Paper using the Grow with Love dies.
I cut a piece of Real Red Cardstock to
2 1/8 x 3 3/8"
I attached the 2 pieces together with Liquid Glue.
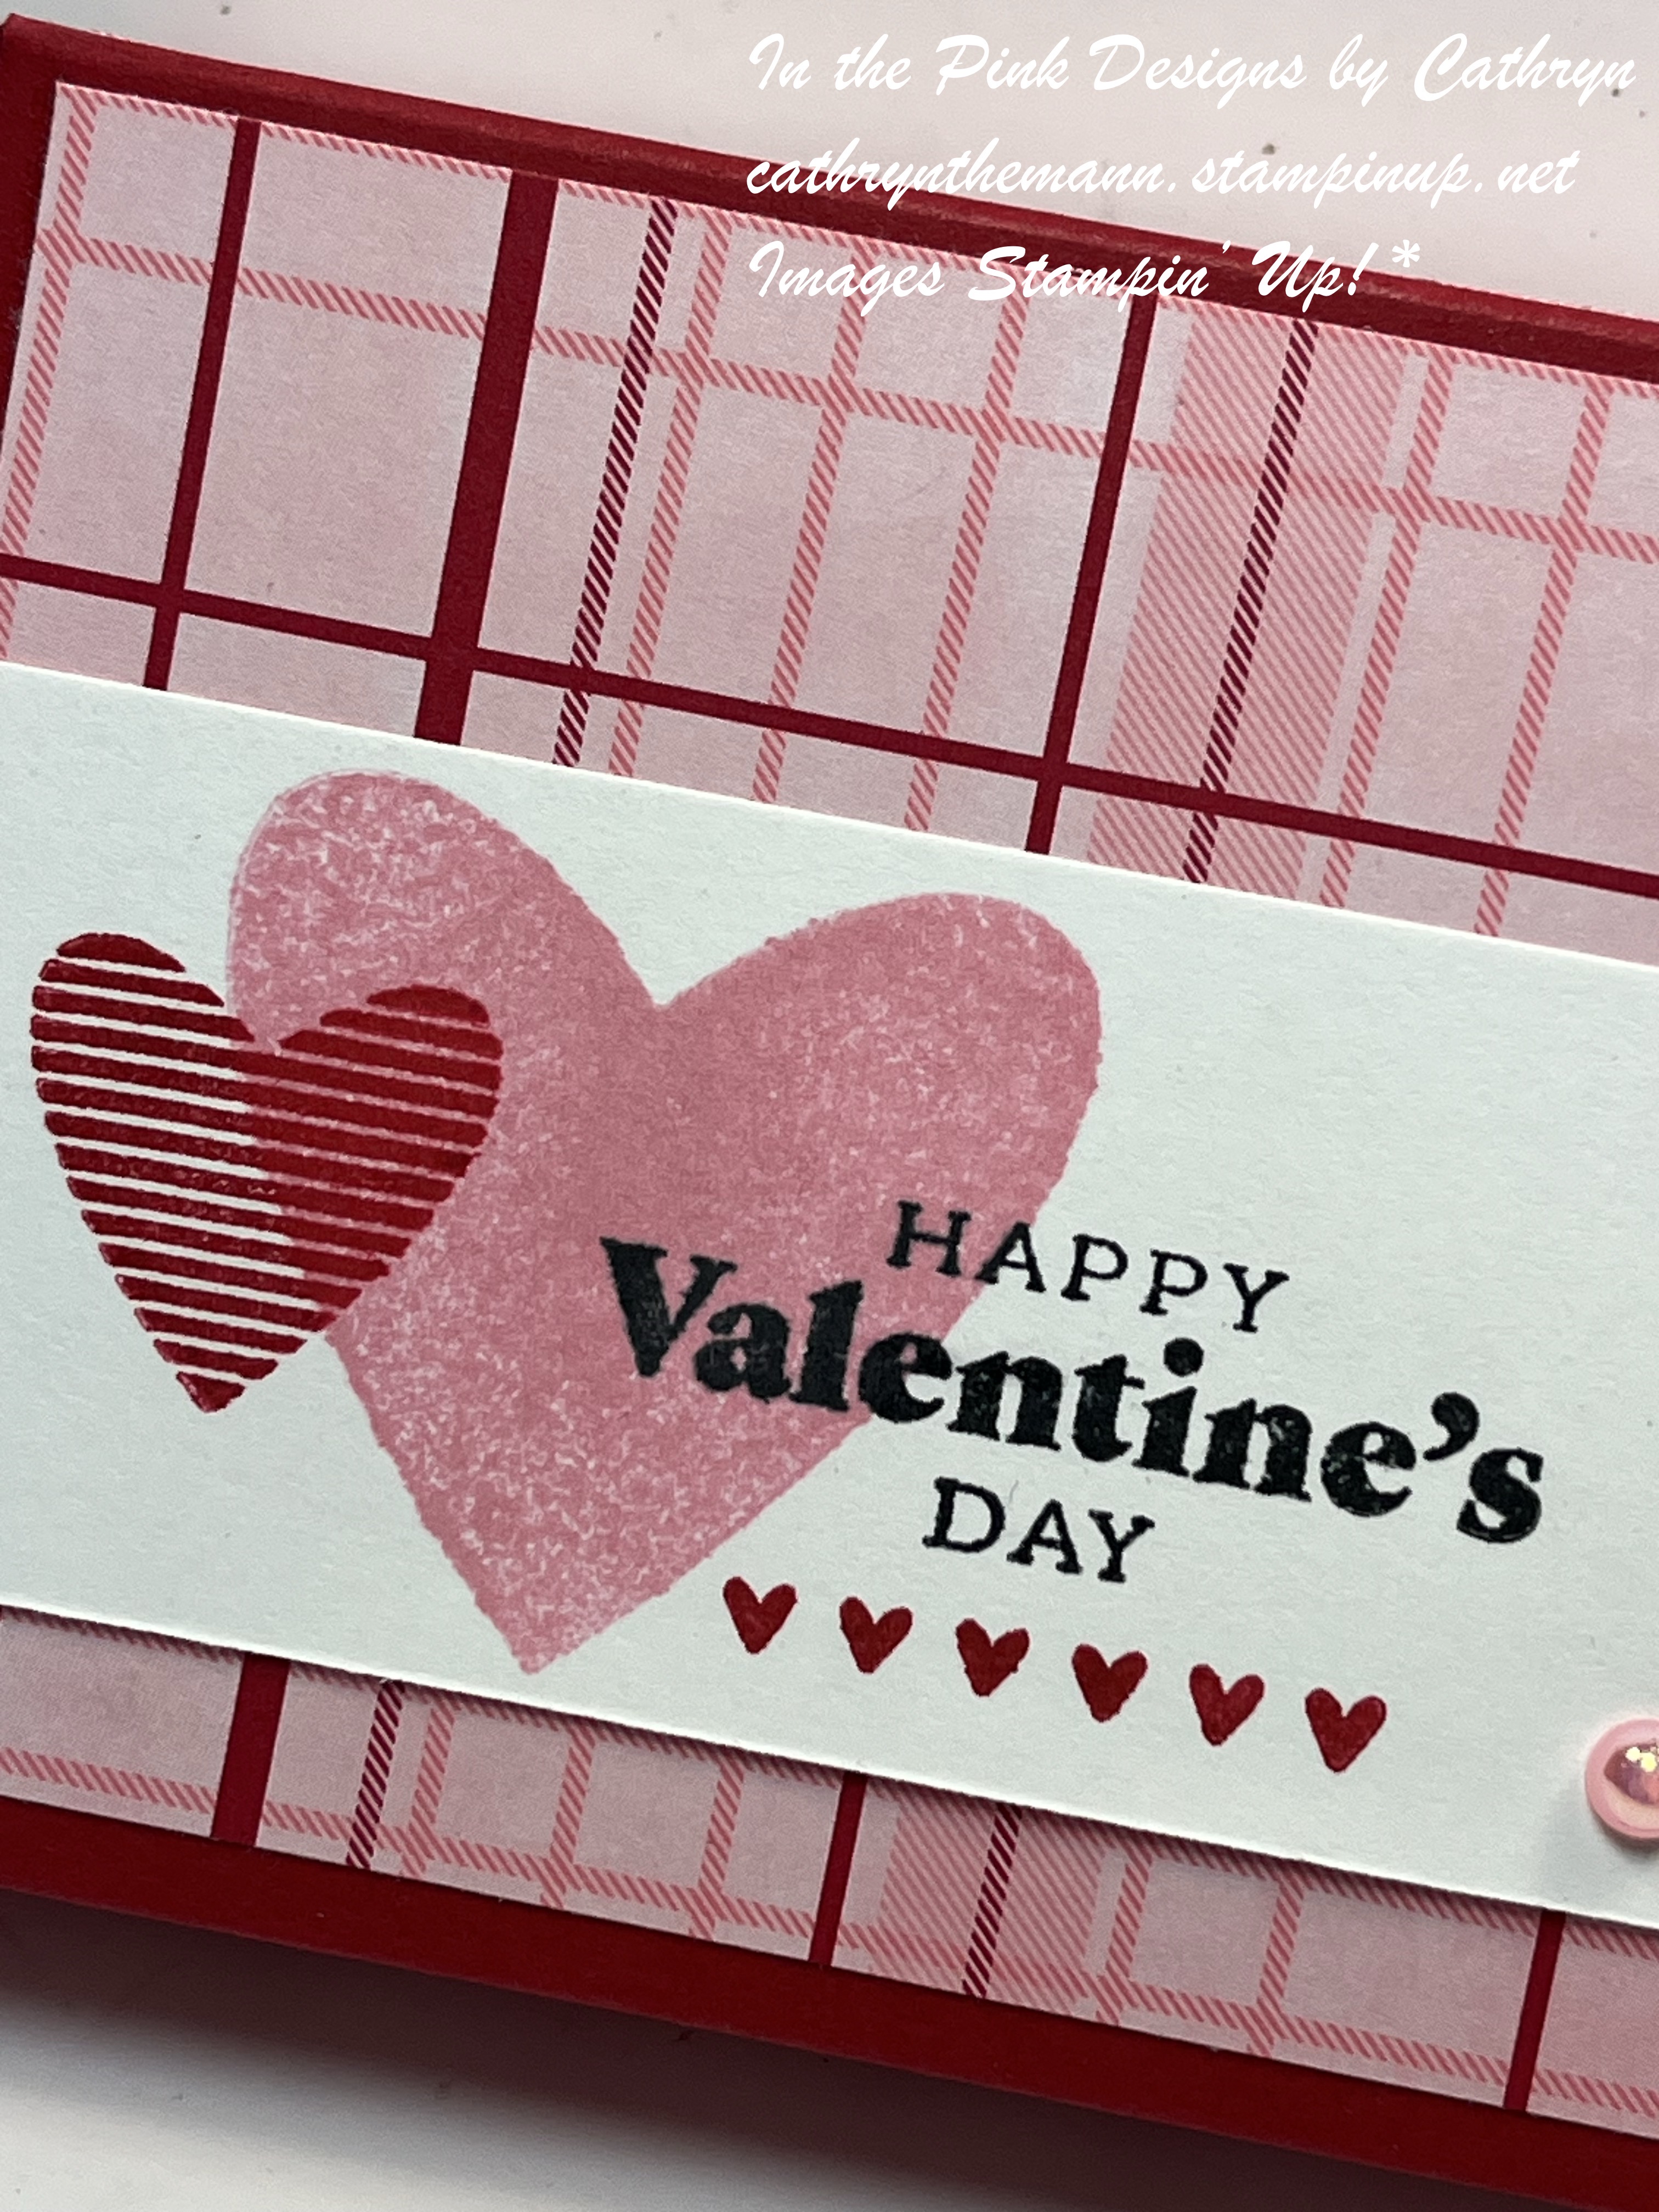
I stamped the sentiment onto the bottom of the Yellow DSP with Real Red Ink.

I attached the Bowtie and Top Hat to the Dino with Liquid Glue.
I attached the Dino to the label, above the sentiment, with Dimensionals.
I attached the entire piece to the front of the box with Dimensionals.

I punched 2 sets of holes in the top flap and ran 2 strands of Daffodil Delight Satin Ribbon through the holes and tied a bow at the front.

Supplies:
Darling Dinos stamp set & dies Bundle
Grow with Love dies
Fruit Salad Sale-a-bration Designer Series Paper
Real Red Cardstock
Basic White Cardstock
Tuxedo Black Ink
Real Red Ink
Stampin' Blends
Daffodil Delight Satin Ribbon
Tear & Tape
Liquid Glue
Dimensionals
Tools
Simply Scored
Take Your Pick Tool
Thank you for visiting my blog today. I hope you enjoyed my Dino Treat Box.
See you next time!
Love & Hugs,
Cathryn